The pace of progress was slower today, but some important things were done. Below you can see that they fixed the problem of the short posts. They did this by welding in new, short segments of
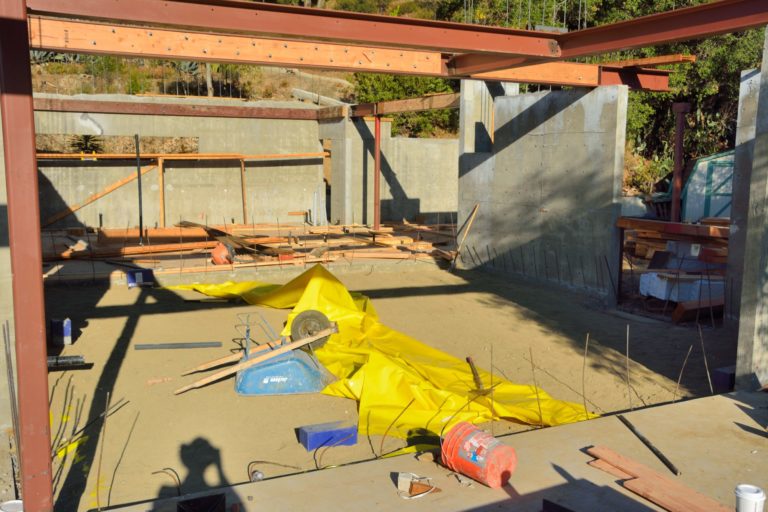
They also began the preparations to pour the slab in the great room. First they had to put down a layer of several inches on sand. On top of this goes a plastic vapor barrier. That is the yellow material in this picture. On top of that goes several more inches of sand. They ran out of sand halfway through putting down the top layer, so in this picture you can see some of the bottom layer of sand, on the right, some of the finished top layer of sand, on the left, and the plastic, which still needs to be spread out to the right, in the middle. Once all of the sand is in place they will put in rebar.
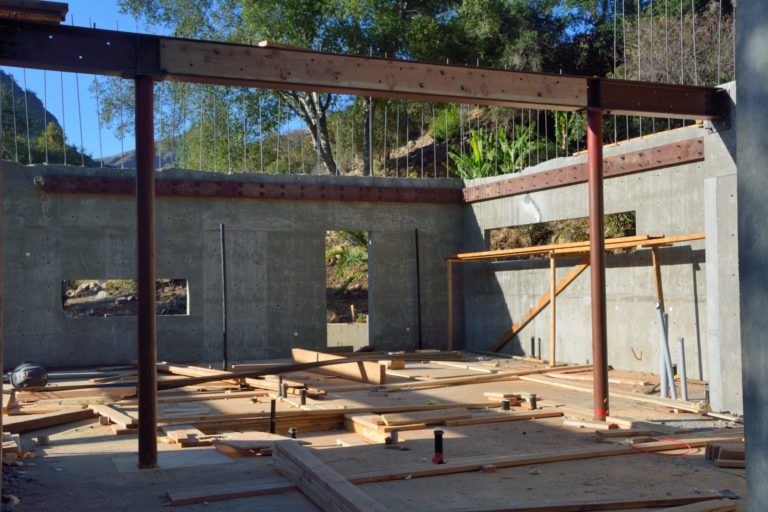
Notice also, in this and the first picture that they have attached nailer boards to I-beams that will be used to attach the joists for the floor above.
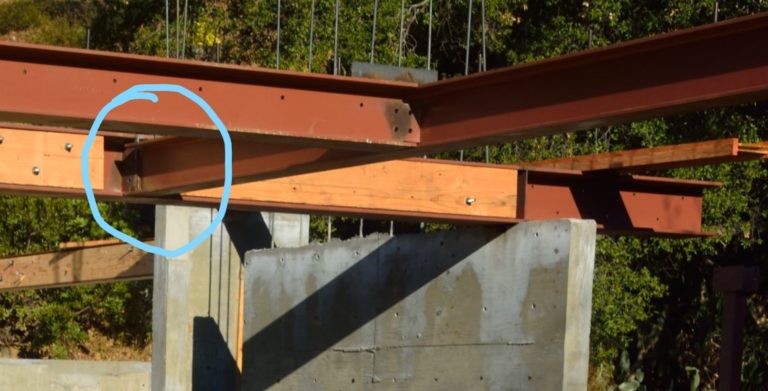
Picture 3 is an inset from Picture 2, that highlights some of the work that they did, which I had not noticed when I was taking these photos. The circled area
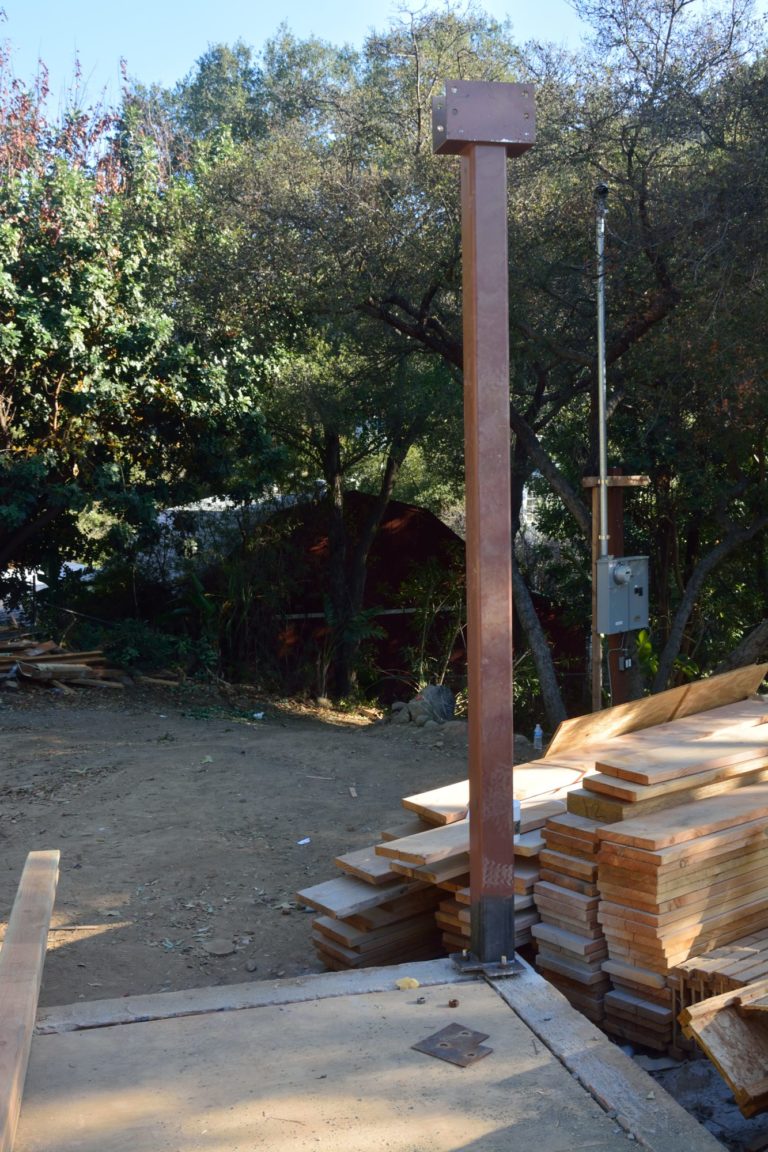
Finally, picture 4 shows the new post that they put up that will be at the corner between the window and the sliding door in the master bedroom.