Today the welders were at the house working their magic, the concrete guys kept plugging away, and we discovered a new problem involving a first-floor concrete wall that is needed but was not built. A big part of the confusion is that the walls in question are interior to the house and are not shown as concrete on the architectural plans, only the structural plans. Adding to the problem, the first floor of this wall is not very salient on the structural plans since it is broken by a passageway and a doorway. As a result, it was only when we were looking at the second floor structural plans and saw this concrete wall sitting above open space that anyone became aware that something might be wrong. The good news is that this wall will not be particularly difficult to do. However, it must be done in two sections and that means that instead of just one more concrete pour there must be at least two.
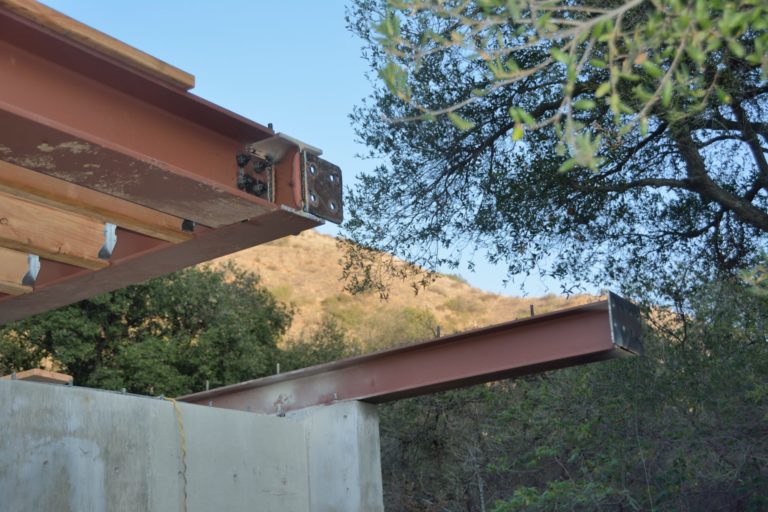
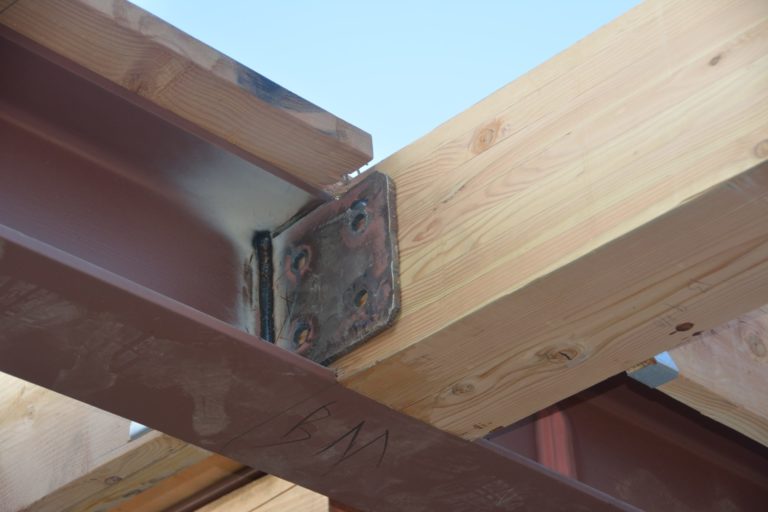
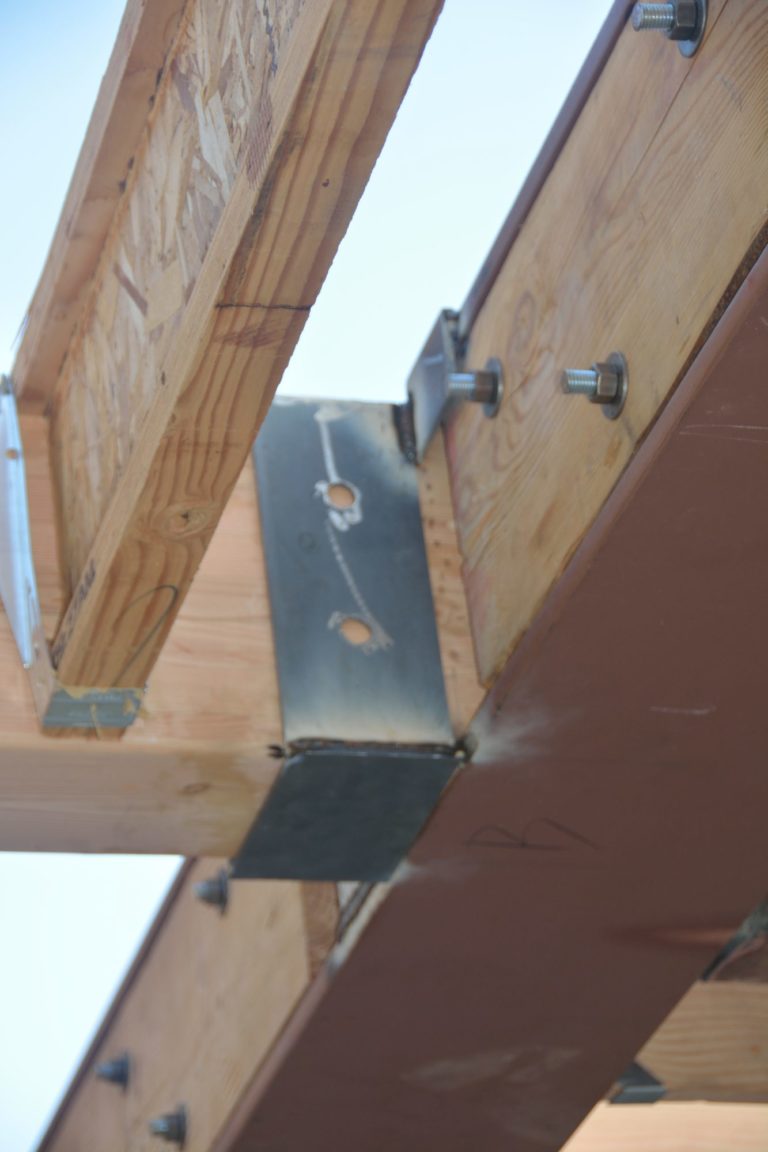
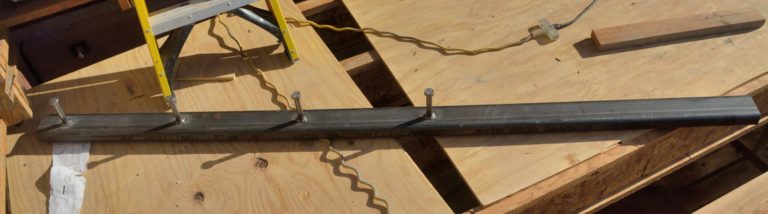
The welders were busy fabricating plates and “baskets” — cutting pieces of steel and welding them together — that will be used to attach large wood beams to the steel beams and then welding the resulting pieces to the steel beams. Pictures 1-3 show several examples of this. It seems amazing that heavy steel can be fabricated so easily. Of course, these guys are incredibly skillful at what they do.
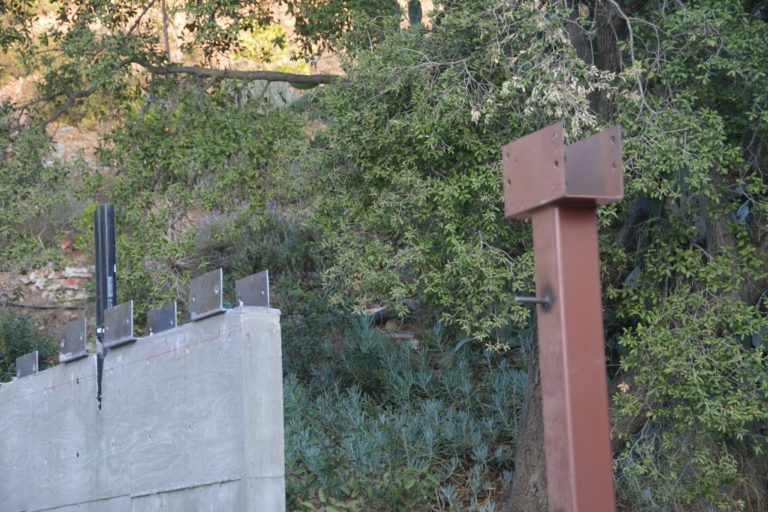
The steel guys had also fabricated another set of four baskets at their shop. Picture 4 shows that the concrete guys attached these to the top of the concrete wall on the east side of our bedroom. It is the concrete guys who do this because they drill holes down into the concrete and then anchor bolts in these holes with epoxy that will be used to hold down the baskets. Tomorrow the framers will attach two wooden beams to the concrete wall using these baskets. These will extend out past each end of the wall to support more cantilevered roof overhangs.
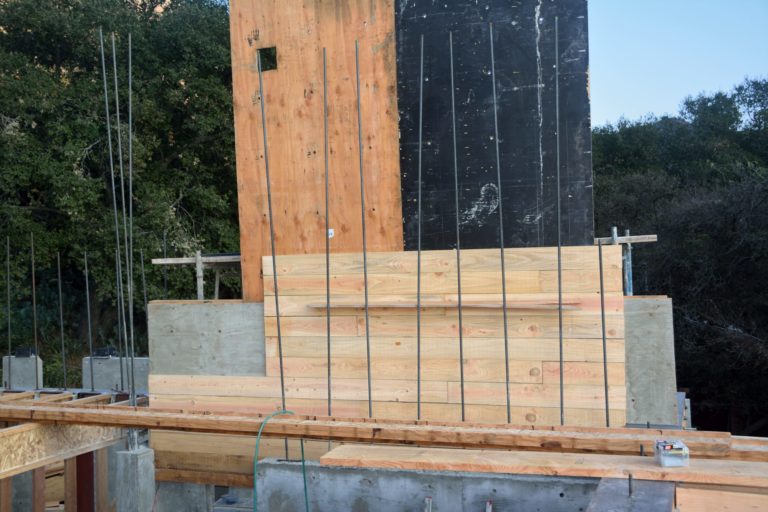
Yesterday’s blog included a picture looking into the forms for the second floor of the west wall. Today they embedded the piece of steel shown in Picture 5 into the rebar that you can see in that opening. The pegs welded to the metal piece are there to help hold it in place in the concrete. Picture 6 shows how this metal piece will extend out past the back of the house to support the cantilevered roof over one of the windows that
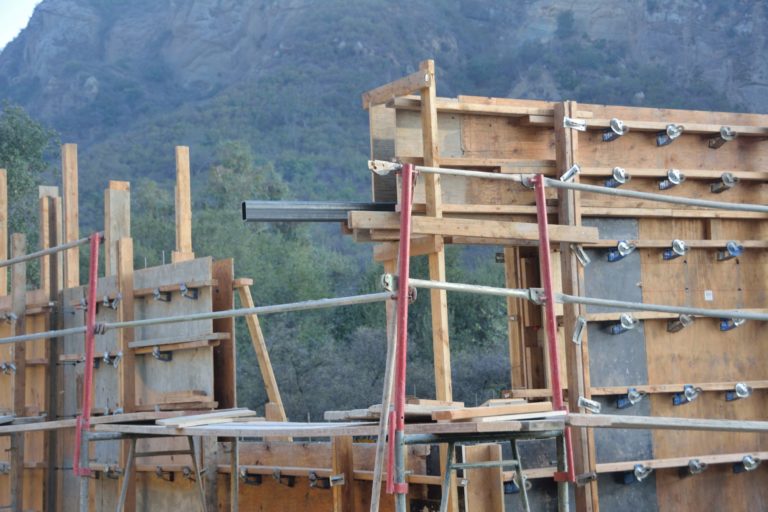
Picture 7 shows the start of the construction board form on the outside of the second floor wall next to the front door. Even though these boards will create a “board-formed” surface, they cannot serve as the form for this wall. Instead they are being attached to a plywood backing.