Yesterday, in addition to the steel, there were two other crews working on the house, two starting the framing of the first floor, and the concrete guys, who were working on some repairs. However, since there were so many pictures showing the steel work, we decided to hold off on posting the pictures of this other work until today — we also knew that we would be away from Modjeska all day today, and so would not have new photos from today.
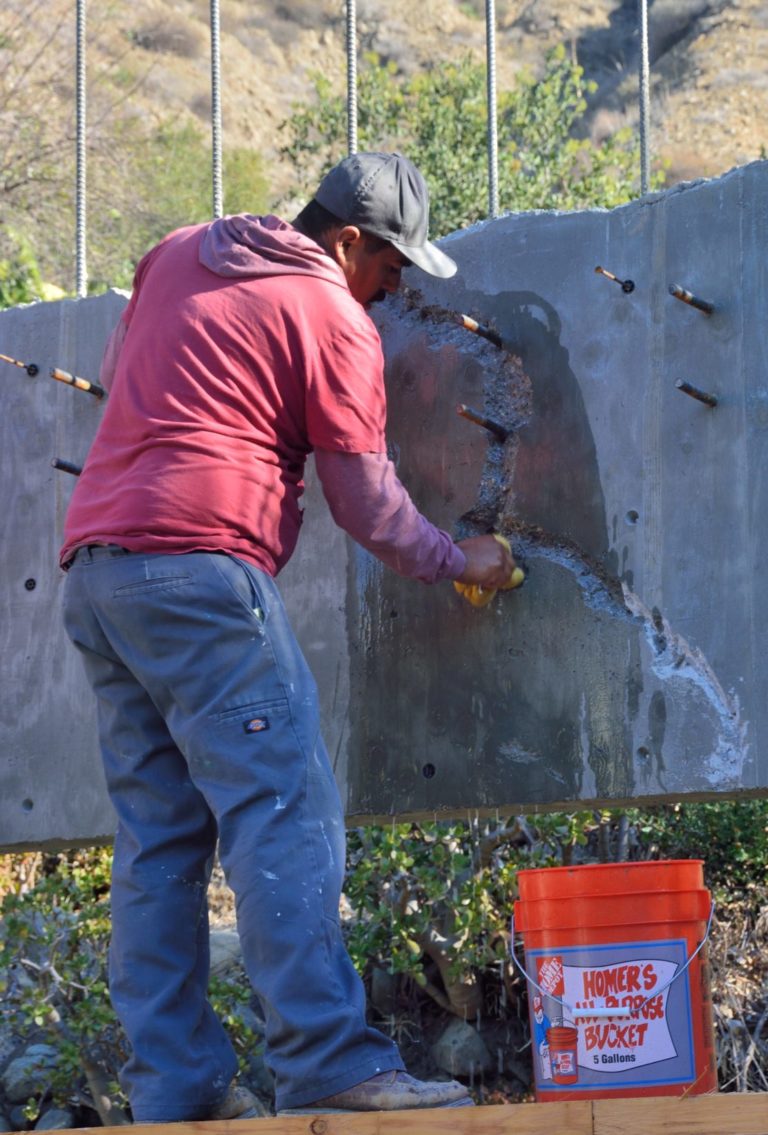
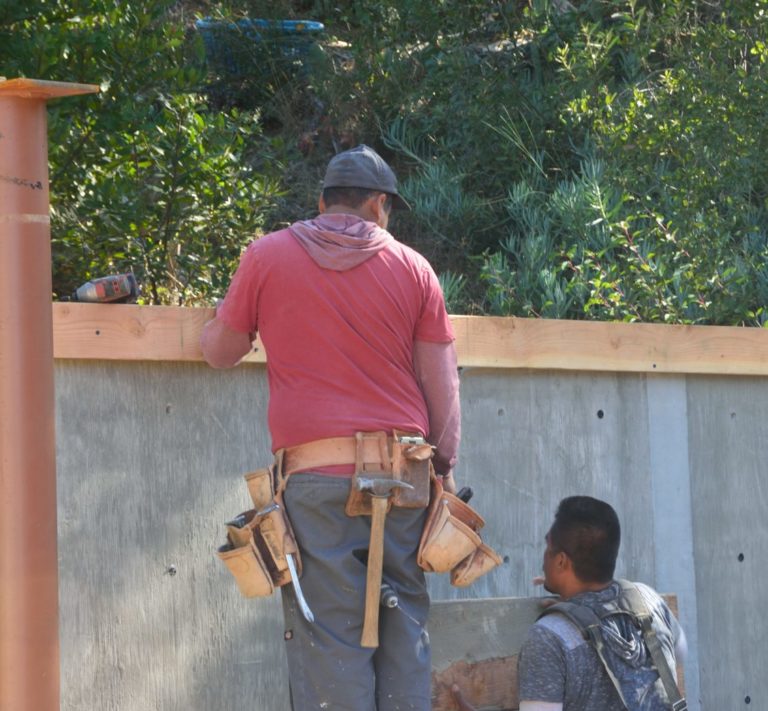
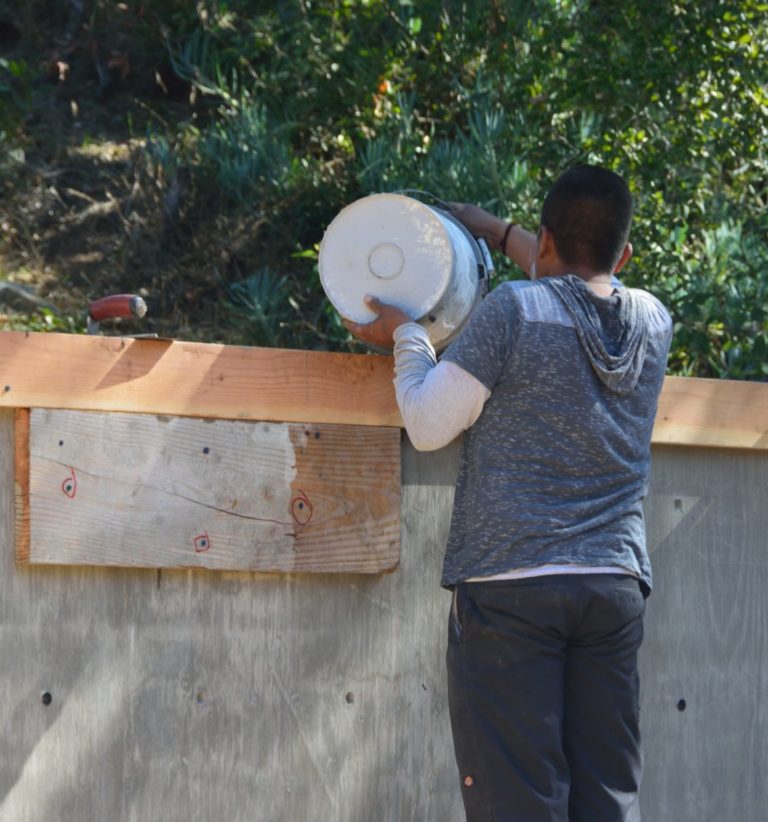
The concrete guys were working on two projects. Pictures 1-4 show the repair of the “cold” concrete joint, which came about when the delay between one concrete truck and the next was too long. Picture 5-7 shows that they also repaired a place where they couldn’t get the concrete to fill in fully under the wood blocking out a window opening.
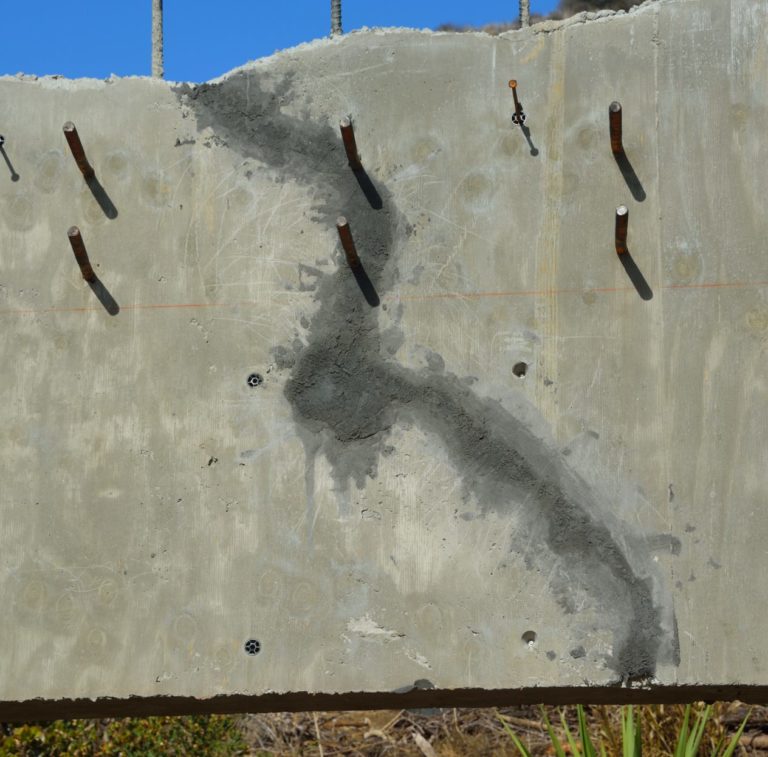
Picture 1 – This shows Javi removing the poorly consolidated material on one side of the cold joint. Fortunately, within about an inch of the surface, the concrete began to be fully consolidated.Picture 2 – Here he is mixing a special, epoxy-based concrete to fill the void that he chipped out. This material is specially formulated to bind to existing concrete.Picture 3 – Here Javi is moistening the joint before troweling the patching material into it. It was critical that the joint be fully filled and well packed.Picture 4 – Here is the finished patch. The main function of this patch will be to keep water from getting inside the concrete and rusting the iron rebar.Picture 5 – Here Javi is constructing new framing around the short pour, where not enough concrete got in under the form of the window.Picture 6 – Hand-mixed is concrete is poured into the form to fill the gap under the window.Picture 7 – The end result.
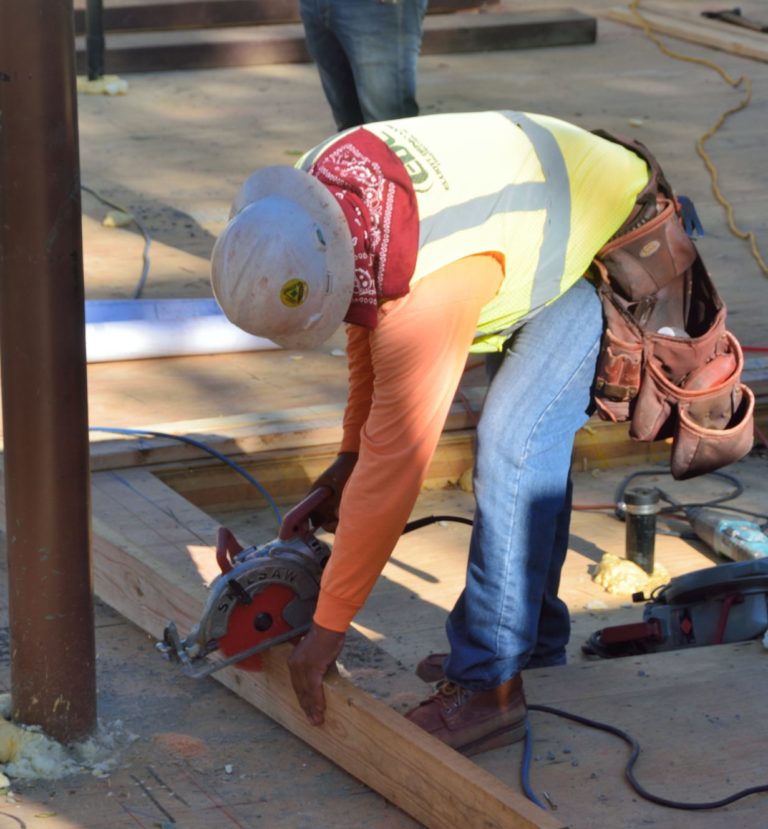
Wood framing seems fairly straightforward, so it is interesting that the crews that are doing this are so specialized. Today there were two of these crews working on the house, and I gather that we will see others. The first crew was putting down the sill plates. These are made up of lengths of 2×4″ or 2×6″ lumber nailed to the floor to form what will be the base of the walls. The guys who do this must be able to read the framing plans, since, in order to put down the sill plates they must first determine where the walls will go, and they also mark notations on the sill plates that tell the next crew exactly how to build each wall.
Picture 8 – This shows one of the framers notching out a 2×6″ so that the sill plate will fit around the post on the left side of the picture.
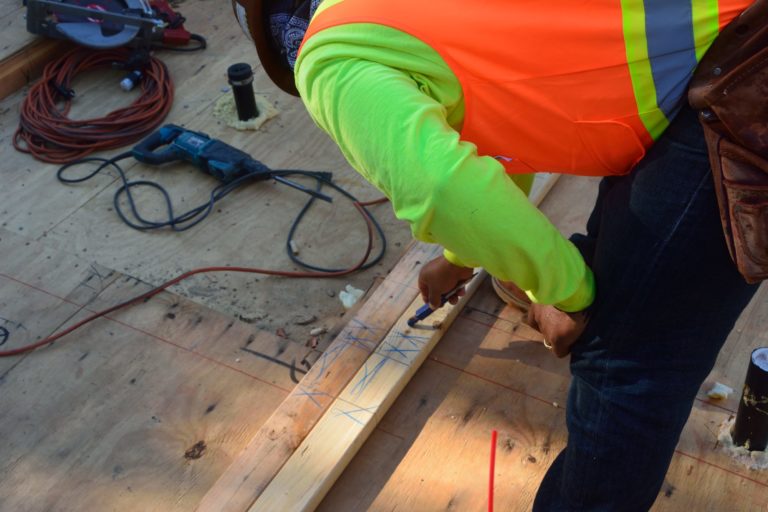
Picture 9 – The hieroglyphics that the framer is writing on this sill plate tells the next crew how to build the wall that goes here.
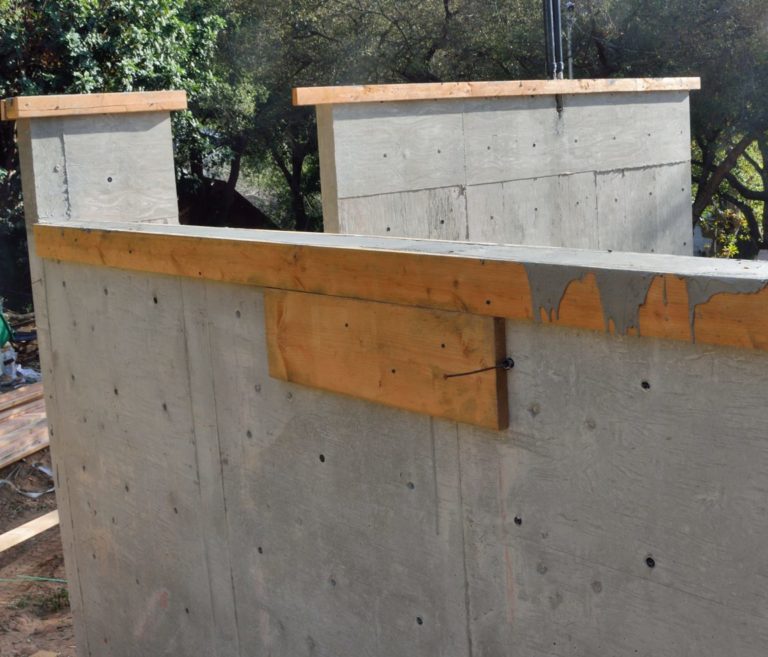
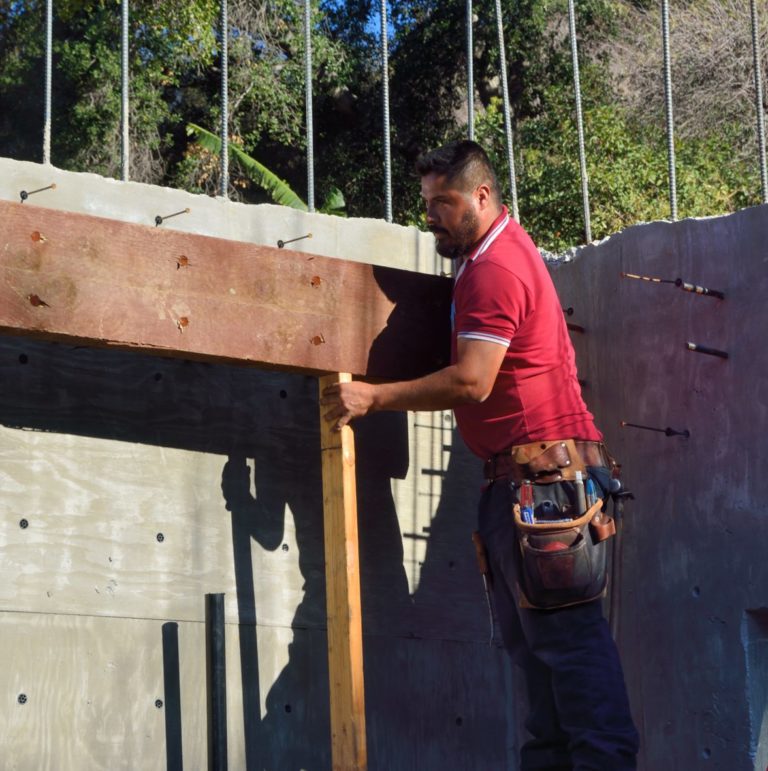
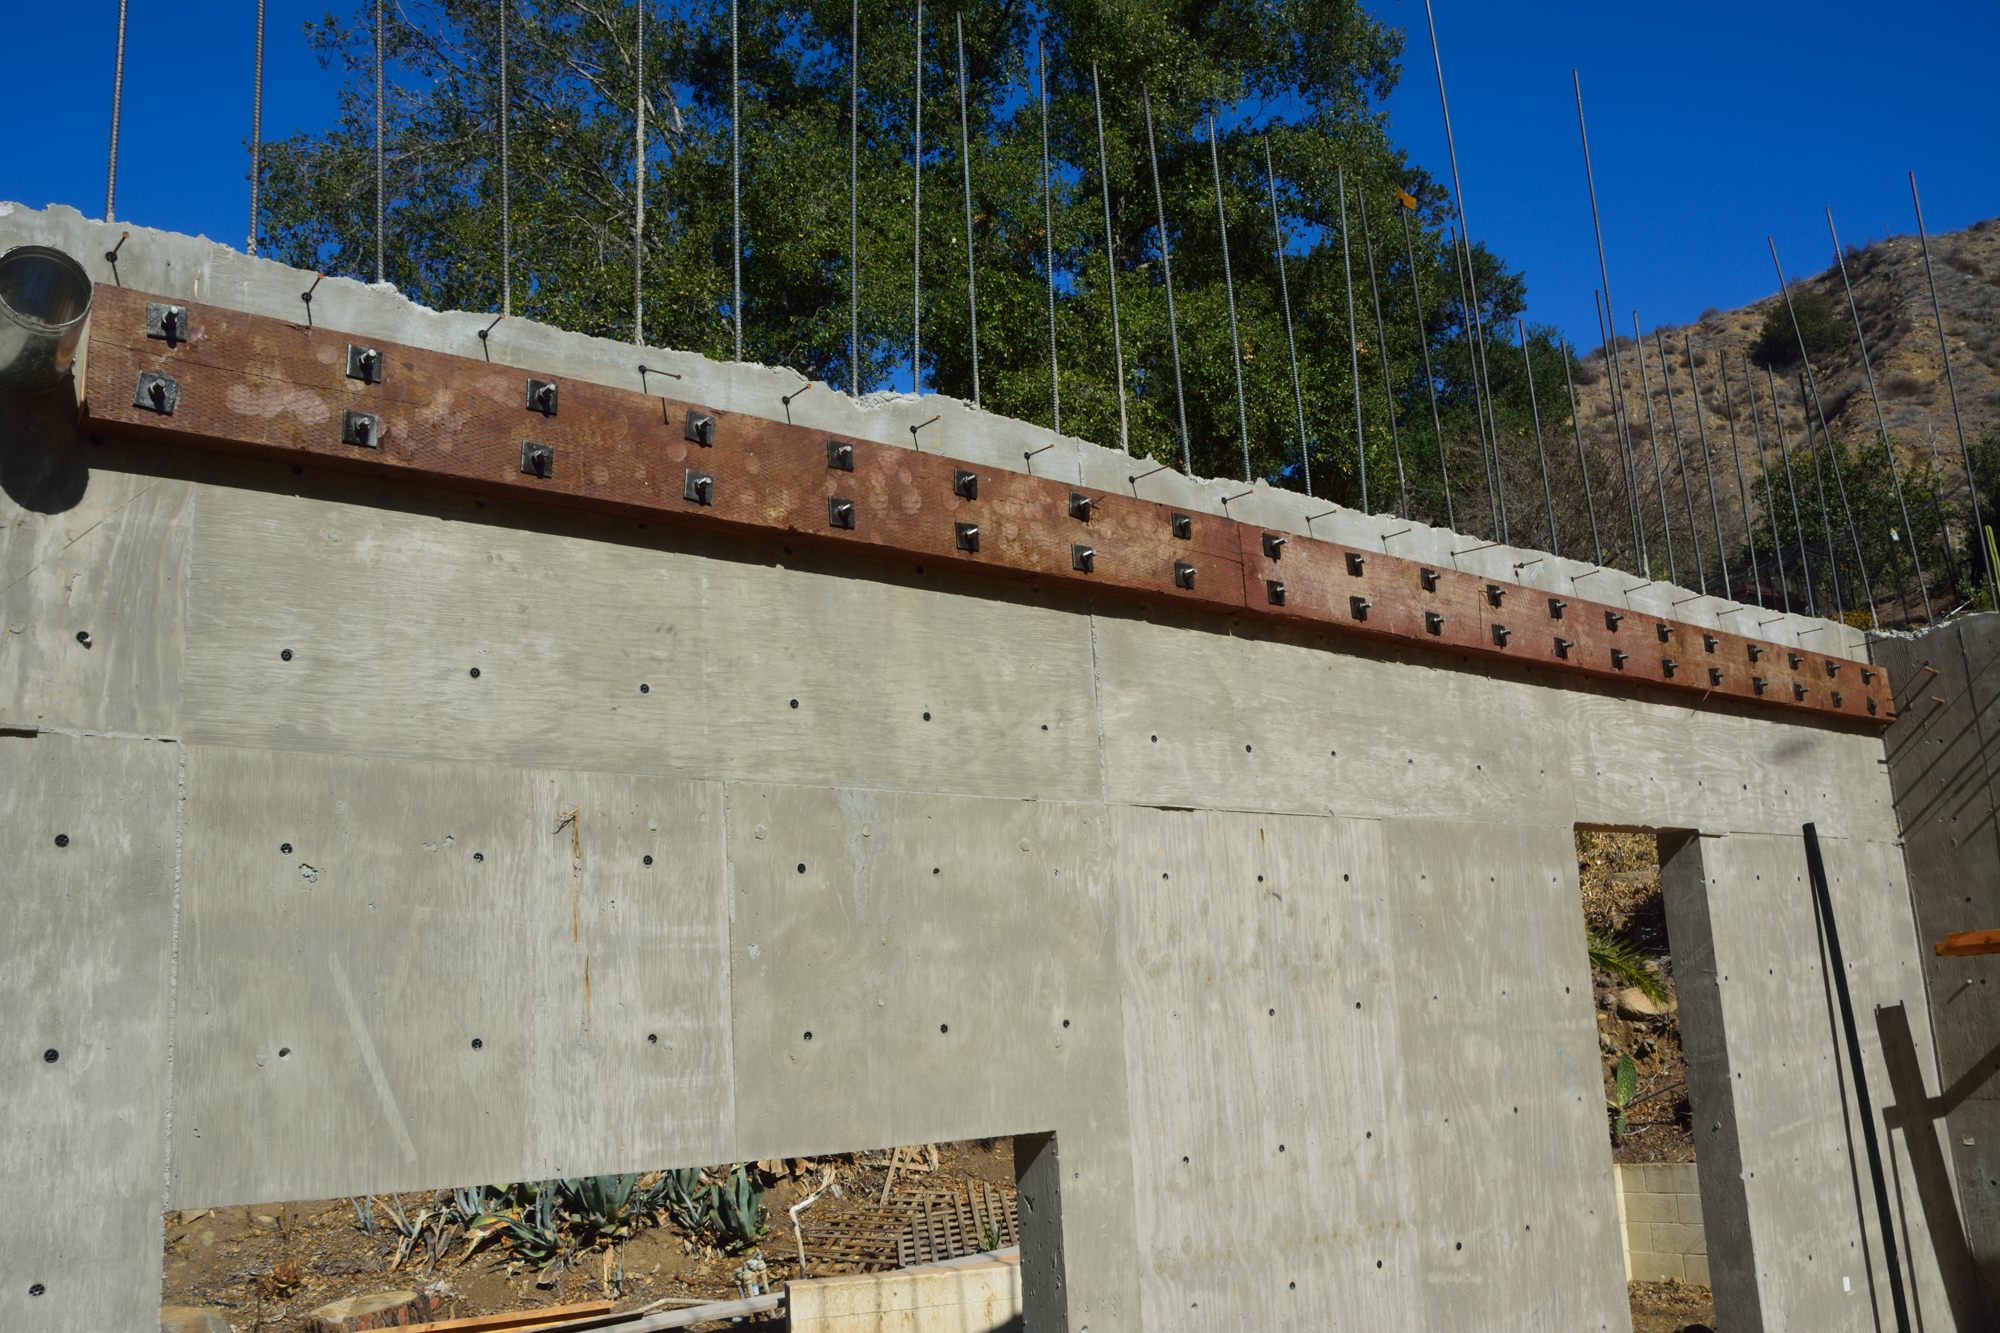
Finally, there was a crew to put the ledger boards on the walls. The ledger boards are, in a way, analogous to the sill plates, in that they provide a substrate to which other framing members can be attached. Ledger boards differ from sill plates in that they are attached to the concrete walls and the sill plates go on the plywood sub floor.
Picture 10 – The ledger boards are attached to bolts that were embedded in the concrete walls when they were poured. This man is straightening each of the bolts. The exact position of each bolt is then measured and a corresponding hole is drilled in the ledger board, a 4″x12″ piece of treated lumber.Picture 11 – The ledger board weighs well over 100 pounds. Here they are lifting the drilled board into place. Picture 12 – 2×4’s, cut to the height of the bottom of the ledger board, are used to hold the large piece of lumber in place until the holes can be brought into alignment with the bolts.Picture 13 – Some blows with a sledge hammer encourage the ledger board onto the bolts. (Note: the head of the sledge hammer is moving so fast that you can only see a splotch of red on the head, but the shadow shows up nicely.)Picture 14 – Metal plates and nuts — a pair for every foot or so, hold the ledger board in place.