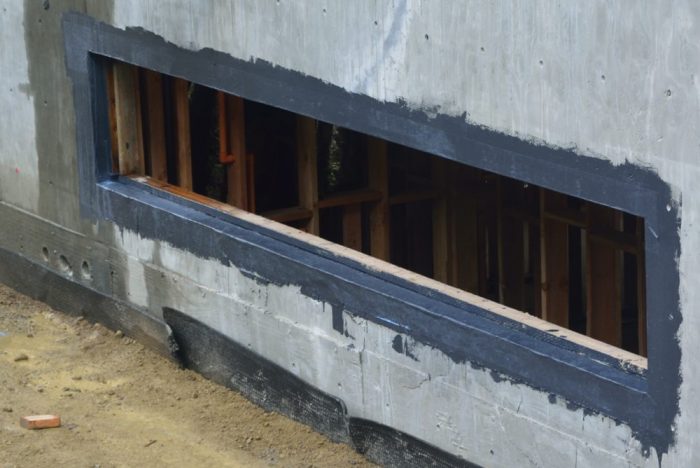
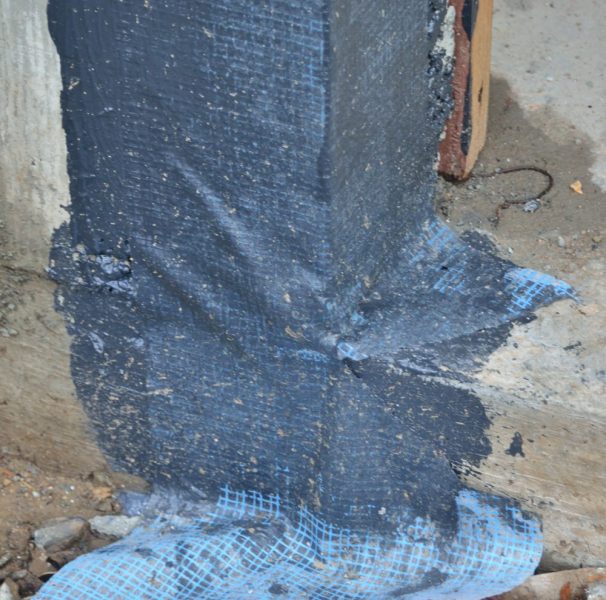
Nina and Ted went out to house on Sunday to see the progress since Wednesday. There was no work Thursday because of rain, and it had been raining again today. Despite the rain, much of the scaffolding is up (Picture 1). The scaffolding needs to be up so that the crew that will install the rigid insulation and stucco can apply a special waterproofing treatment around the openings before the windows are installed. Picture 2 shows one of the windows with this treatment in place. Picture 3 is a closeup of this material showing that it consists of a fabric mesh with a waterproofing material applied over it. This work should be completed tomorrow so that the window installation can start on Tuesday.

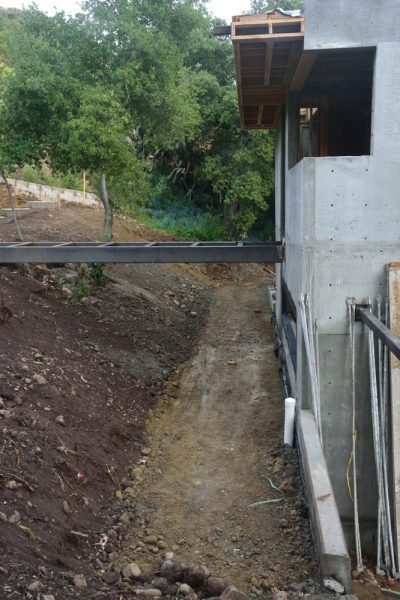
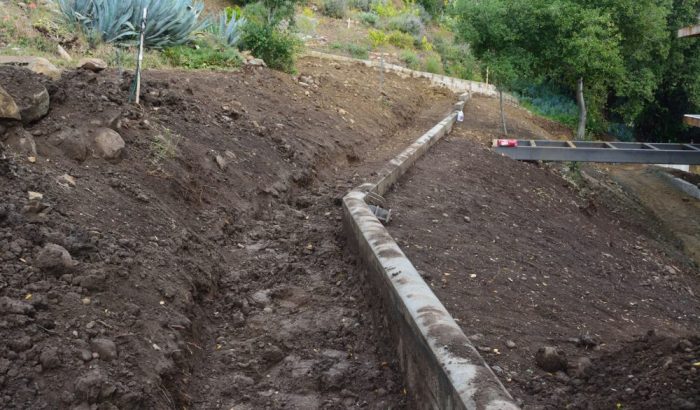
All of the rough grading behind the house was completed before the rain on Thursday. The crew was back on Friday and Saturday to set the final grade and clean up the slope. Picture 4 shows the flat area directly behind the house with the slope running up from it to the debris wall. Eventually there will be a concrete ditch in the middle of the flat area to carry any water to the area at the back of the photo where it can drain out onto the driveway and run down to the the bottom of the property, where we plan to catch it and let in sink in.
Picture 5 shows the debris wall, above the slope, and the swale behind it. This wide ditch and wall have two functions. First they should work together to stop and catch any larger rocks that might manage to come loose and roll down the hill. This does happen on the hillside above us; however, because of the layout of the terrain, most of these would end up on either side of the house. The debris wall is then insurance against an unlikely event. In addition, however, this ditch will funnel excess runoff toward the gully on the west side of the property — back behind the photographer.
Picture 6 shows another wonderful thing. The tree in that picture used to be at the top of the 8 foot drop off that was behind our house. Because we really like the oak trees and they are slow growing, we have been hoping that its elevation might be about right when the slope was eventually graded — we have literally been pondering this question for over two years. As the photo shows, it seems to fit nicely onto the newly grade slope.
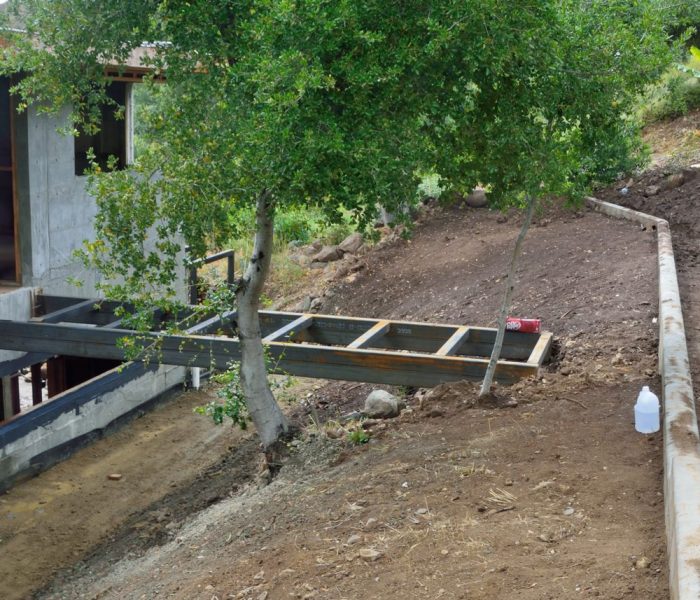
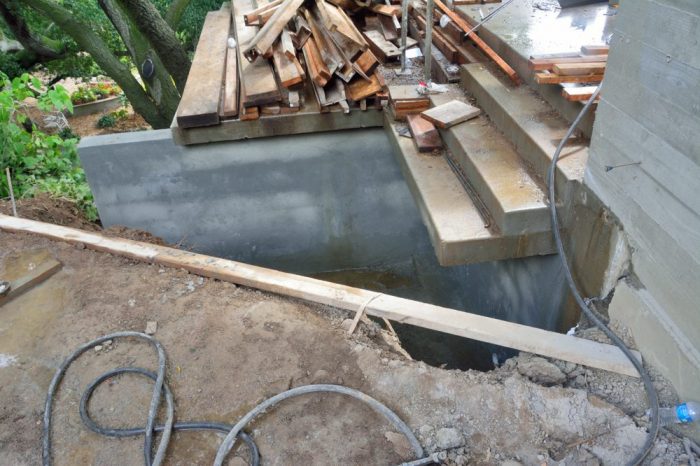
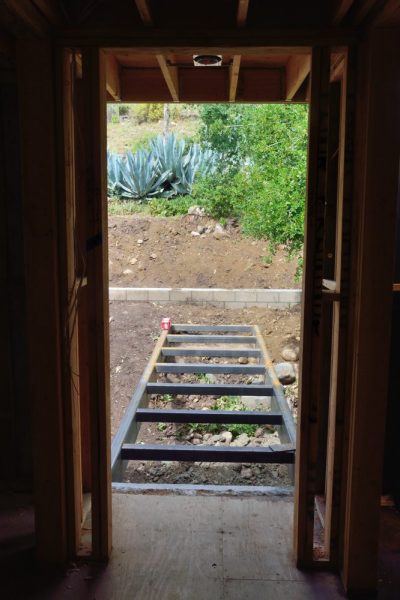
Picture 7 is the view from the second floor at the back of the house out over the bridge. For comparison, there was a photo of this scene taken May 7th https://www.wright-macdonald.com/blog/wp-content/uploads/bridge-footing-5-9-19.jpg before the grading or the bridge were in place. (In that photo, you can see the saved oak tree on the right.) They still need to build the steps at the end of the bridge to the top of the debris wall.
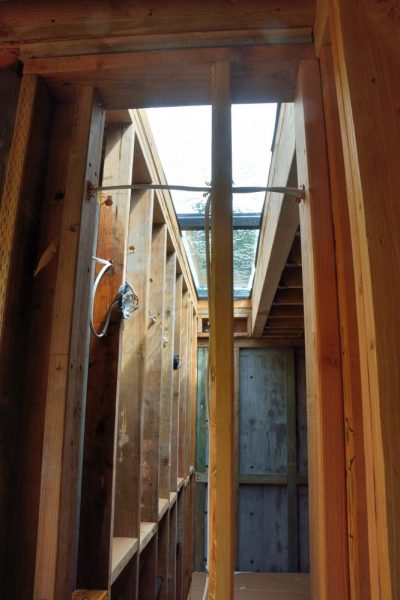
There are a couple other new things since last Wednesday. They installed the skylights for each of the bathrooms in the main house. Picture 8 shows the one over the vanity in the second floor guest bath.
They have also built a small retaining wall that is needed to support the soil at the transition from the decks to the main walk.