Last week the process of installing the windows got close to completion. The plan is to do the last steps Monday, and then on Tuesday the house will be ready both to install the drywall inside and the insulation and stucco outside.
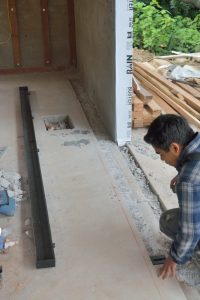
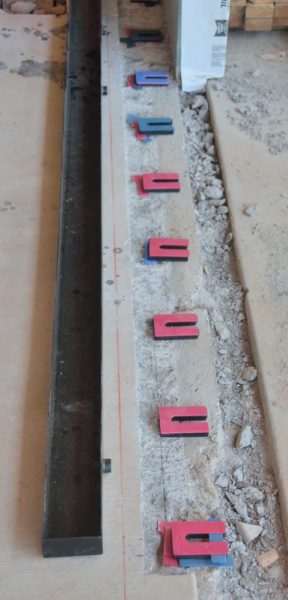
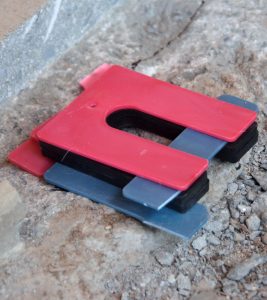
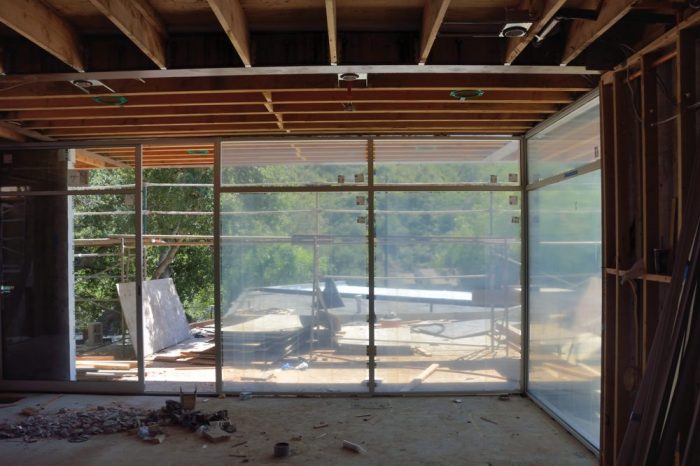
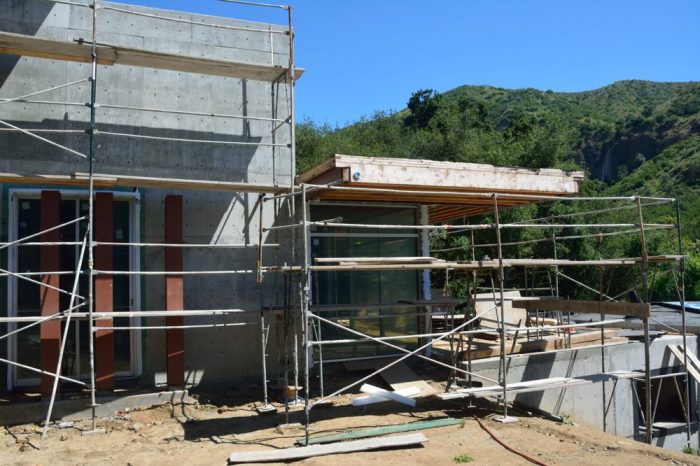
The largest of the windows is the combination of fixed windows and sliding door/screen going from the great room out onto the deck. Before they could install this window system, they had to cut out a concrete channel for where the sliding door and screen can go back into a pocket behind the wall. That happened on Monday of last week. Picture 1 shows that channel and the fabricated metal drain that goes into it. This drain needs the channel to be leveled precisely. The worker in Picture1 is starting that process. Picture 2 shows the completed set of levelers and Picture 3 shows in detail how these levelers are stacked. Picture 4 shows the finished system from the inside. Picture 5 shows the outside, west wall of the house, with the great room window on the right.
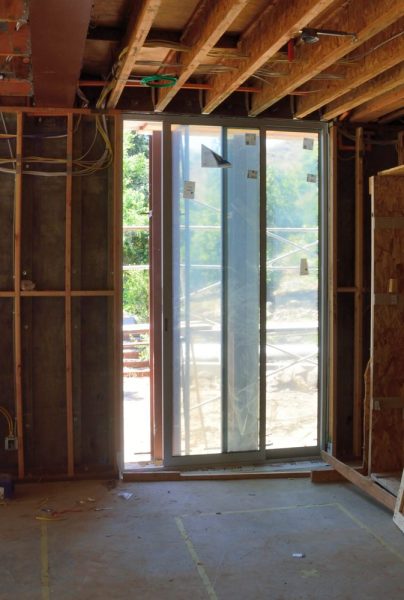
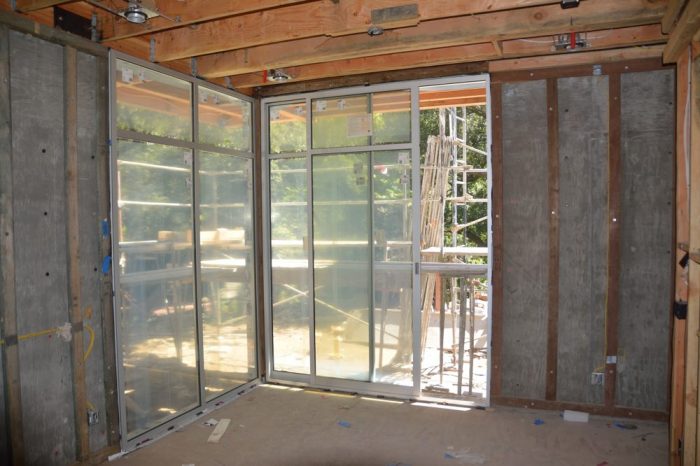
Picture 6 shows the other large window in the great room. This one is in the dining room and will eventually look out through the gabion wall. It is actually a sliding door so that we will be able to get to the outside to clean it. Picture 7 shows one of the floor to ceiling window/door combinations in our bedroom. Picture 8 shows the window/door outside of the office on the second floor and the windows on the stairway. Picture 9 shows the window that wraps around the corner in the guest room.


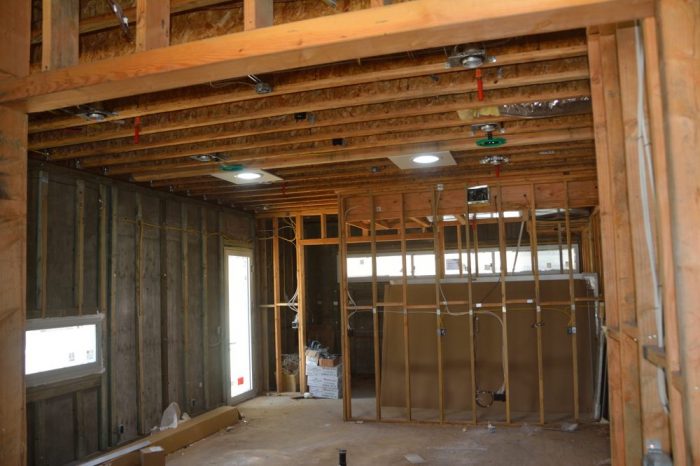
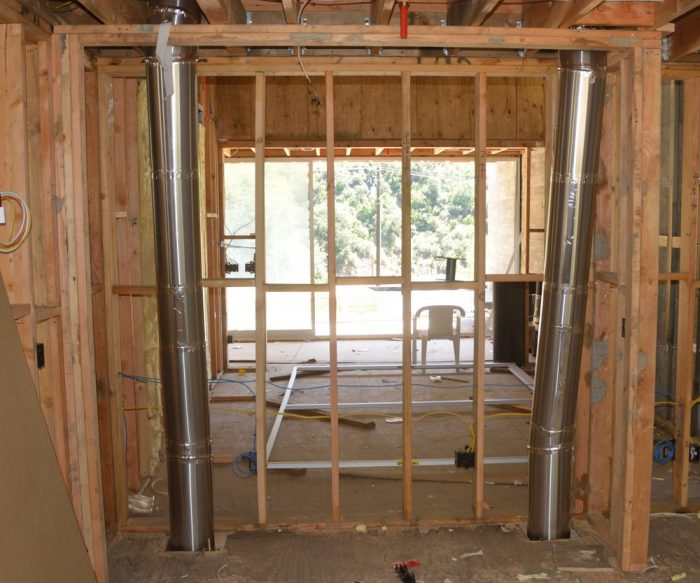
The two bright lights in the ceiling of kitchen, shown in Picture 10, are not lights at all, but Solatubes (https://www.solatube.com/residential). As shown in Picture 11, these run up through the closet in the Guest Room to the roof. They will add a lot of daylight to the kitchen that otherwise might be somewhat dark.
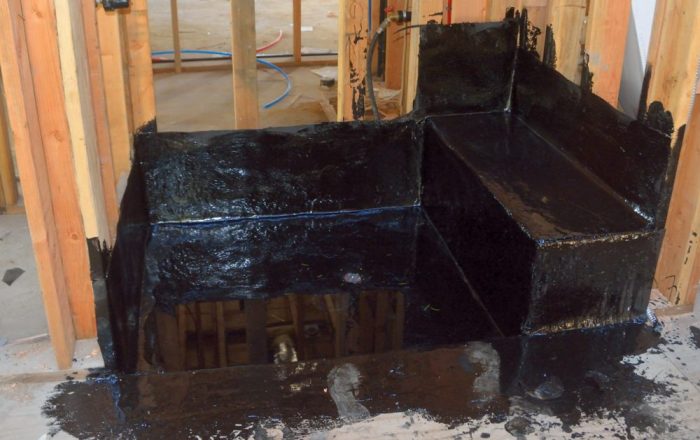
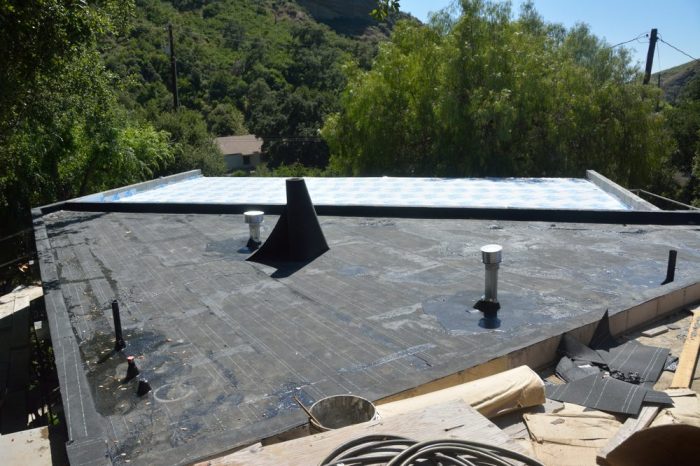
They use hot tar for waterproofing and some of that was done last week. Picture 12 shows one of the showers. They leave water in it to check for leaks. Picture 13 shows the apartment roof.
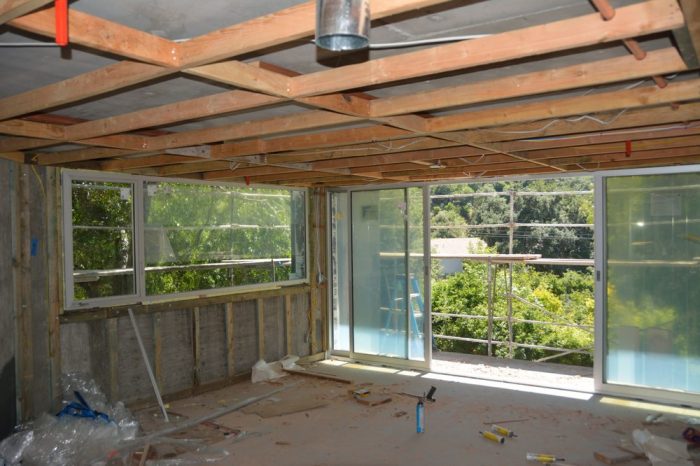
They also have done the windows in the apartment. Picture 14 shows he living room. This seems like a glorious space with the sliding door to its small balcony on the right and the window on the left that will look through the trees to the orchard below. Maybe we should call this the apartment Treehouse.
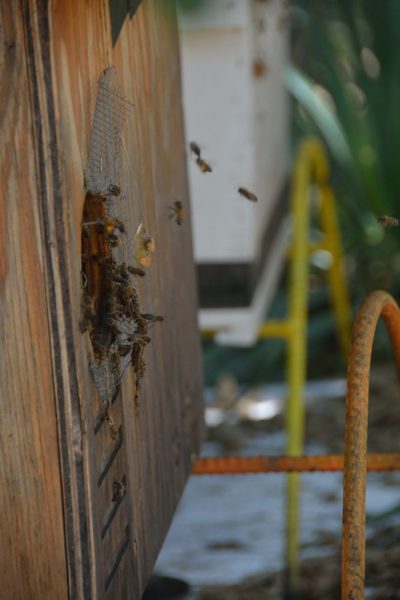
The last two pictures are just for fun. Pete was complaining that, in the picture of him and the Bobcat in last week’s post, they were not doing anything. Picture 15 shows them taming some of the larger boulders in the backyard that we plan to terrace. Last year one of our friends, who rescues bees, installed several bee hives on part of our property. Unfortunately we lost them both. However, several weeks ago there was a bee swarm flying through the canyon and, as Picture 16 shows, they chose one of our hives for their new home and are now busy pollinating everything. If only we could get a barn owl tenant for the owl box that is on the hillside above the house.