The first thing the rebar guys did this morning was to build the header above where the garage door will go. You can see the wooden header with the supports that will hold the forms for the garage ceiling in the front of picture 1. Picture 2 shows the same header from above. Because this concrete header spans a 20′ opening, it contains an array of 6 of the largest sized rebar that will be used on our job, one inch in diameter.
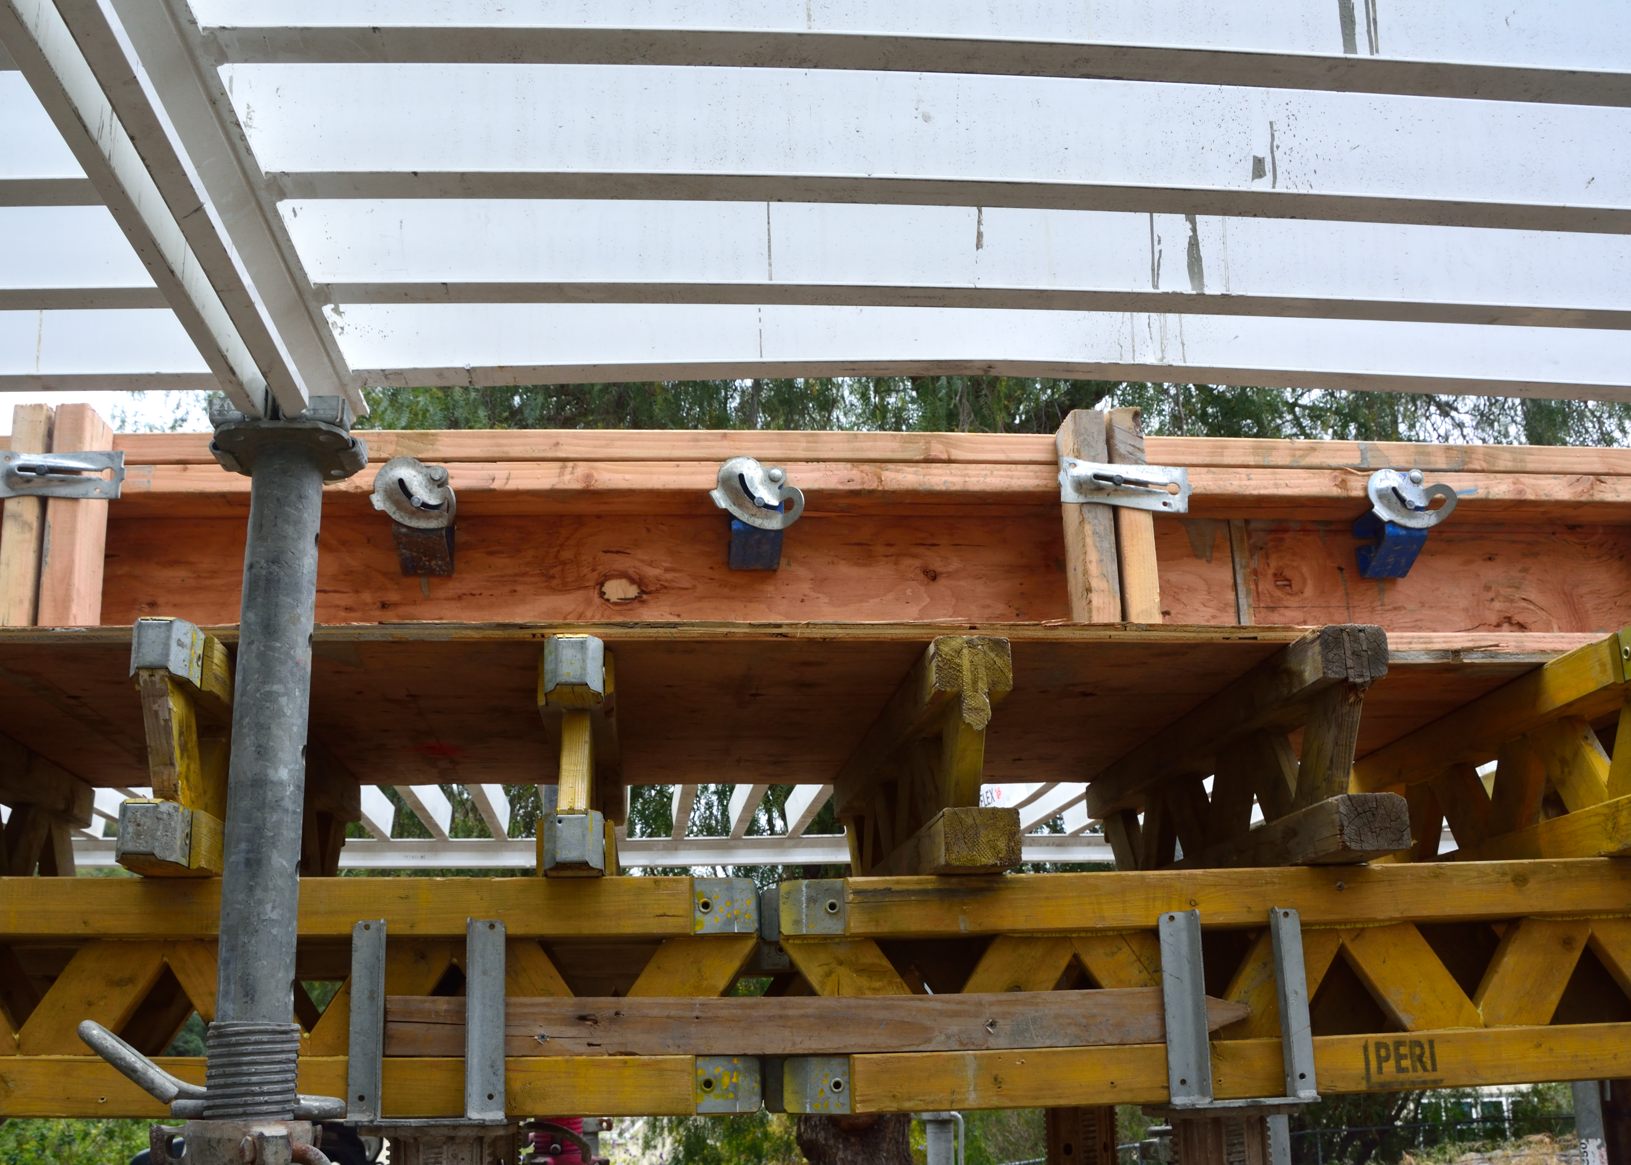
Picture 1 – Garage door header from inside the garage
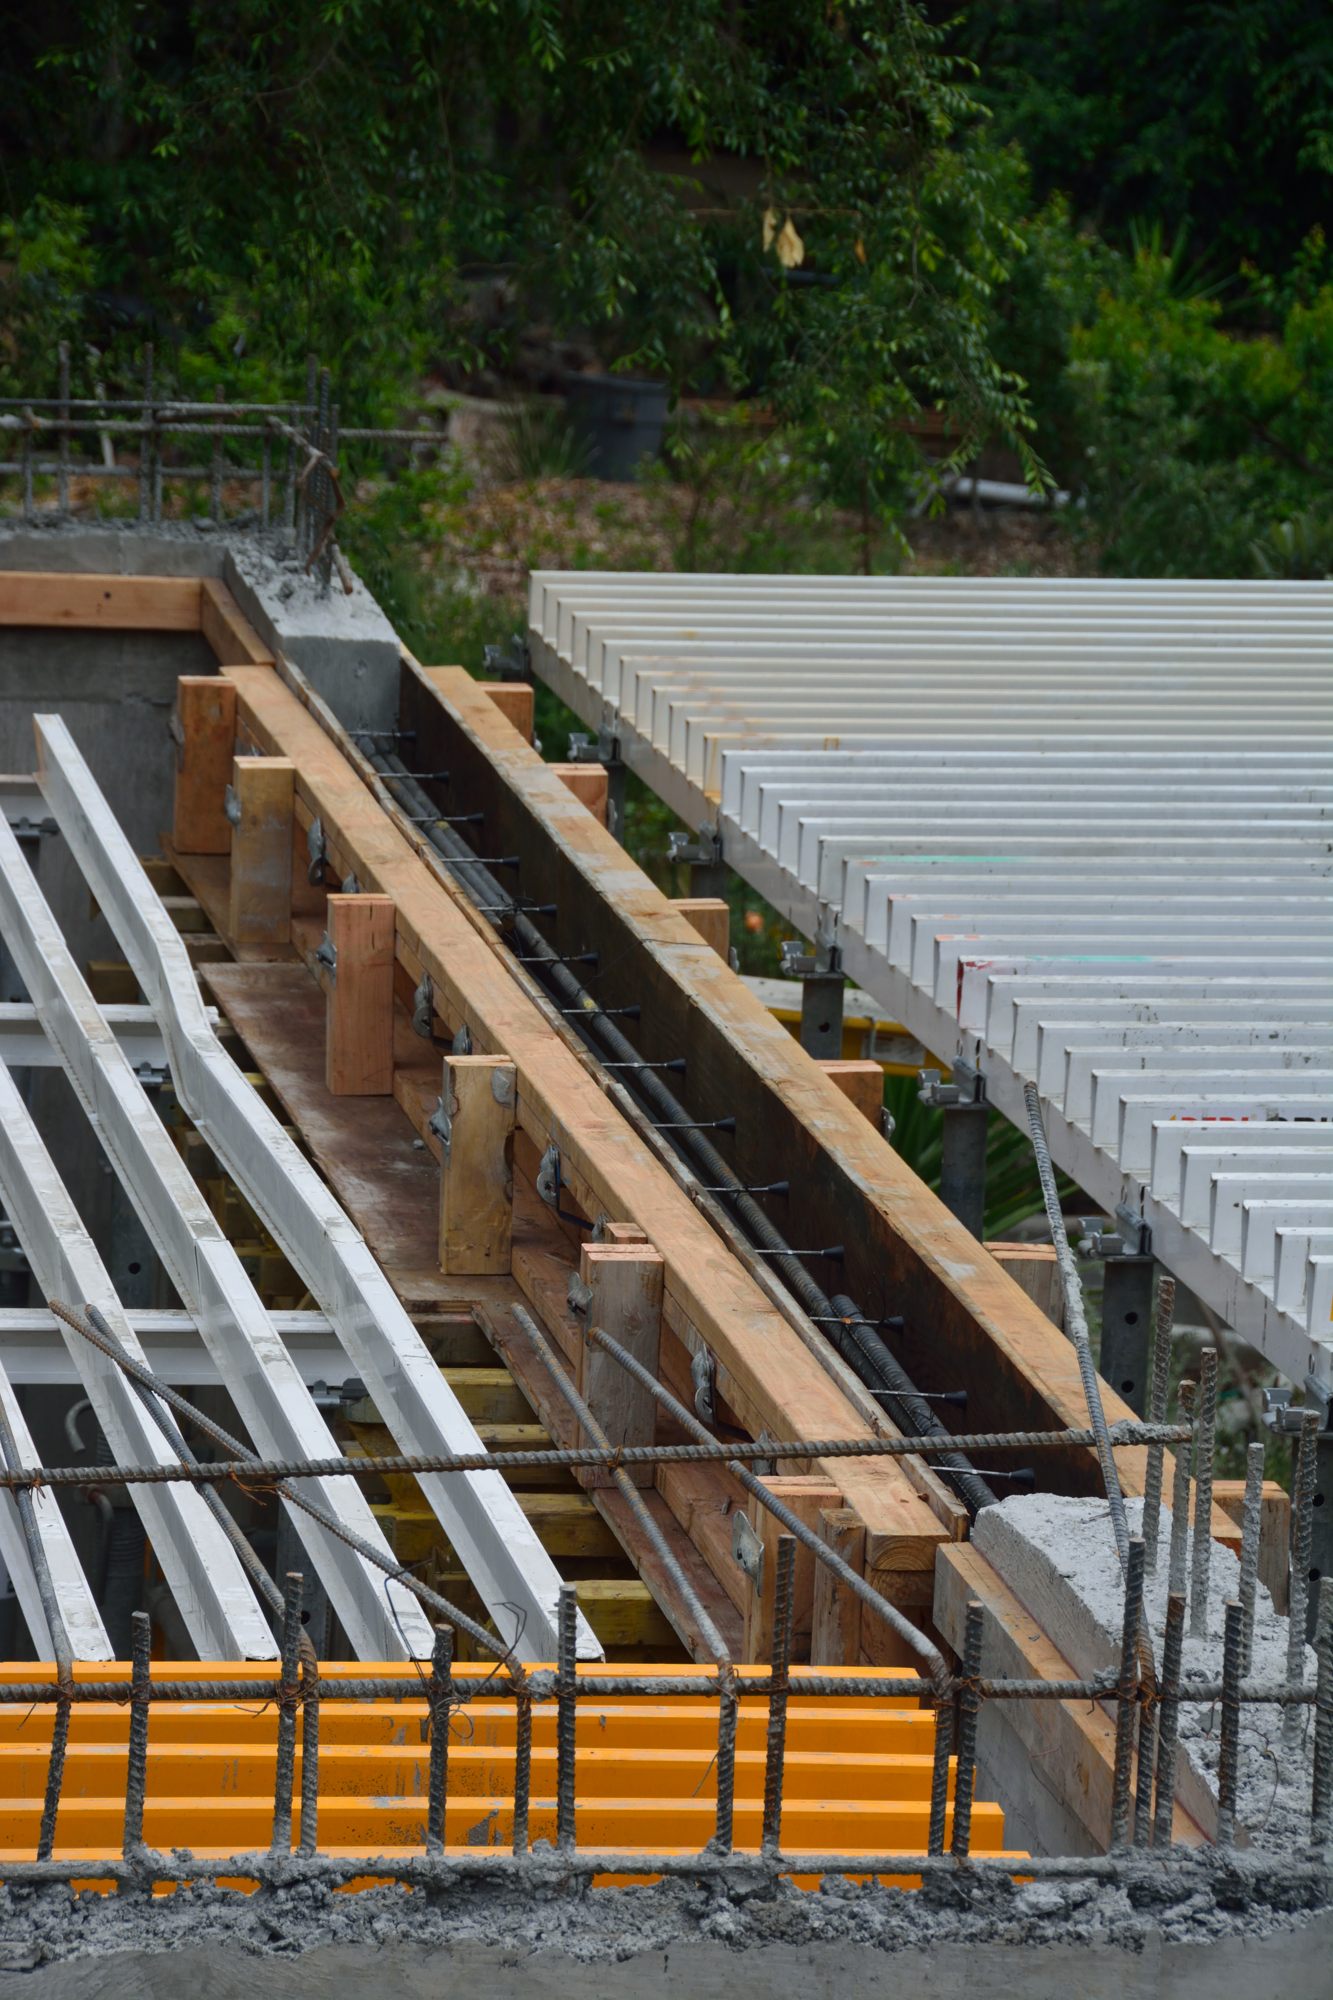
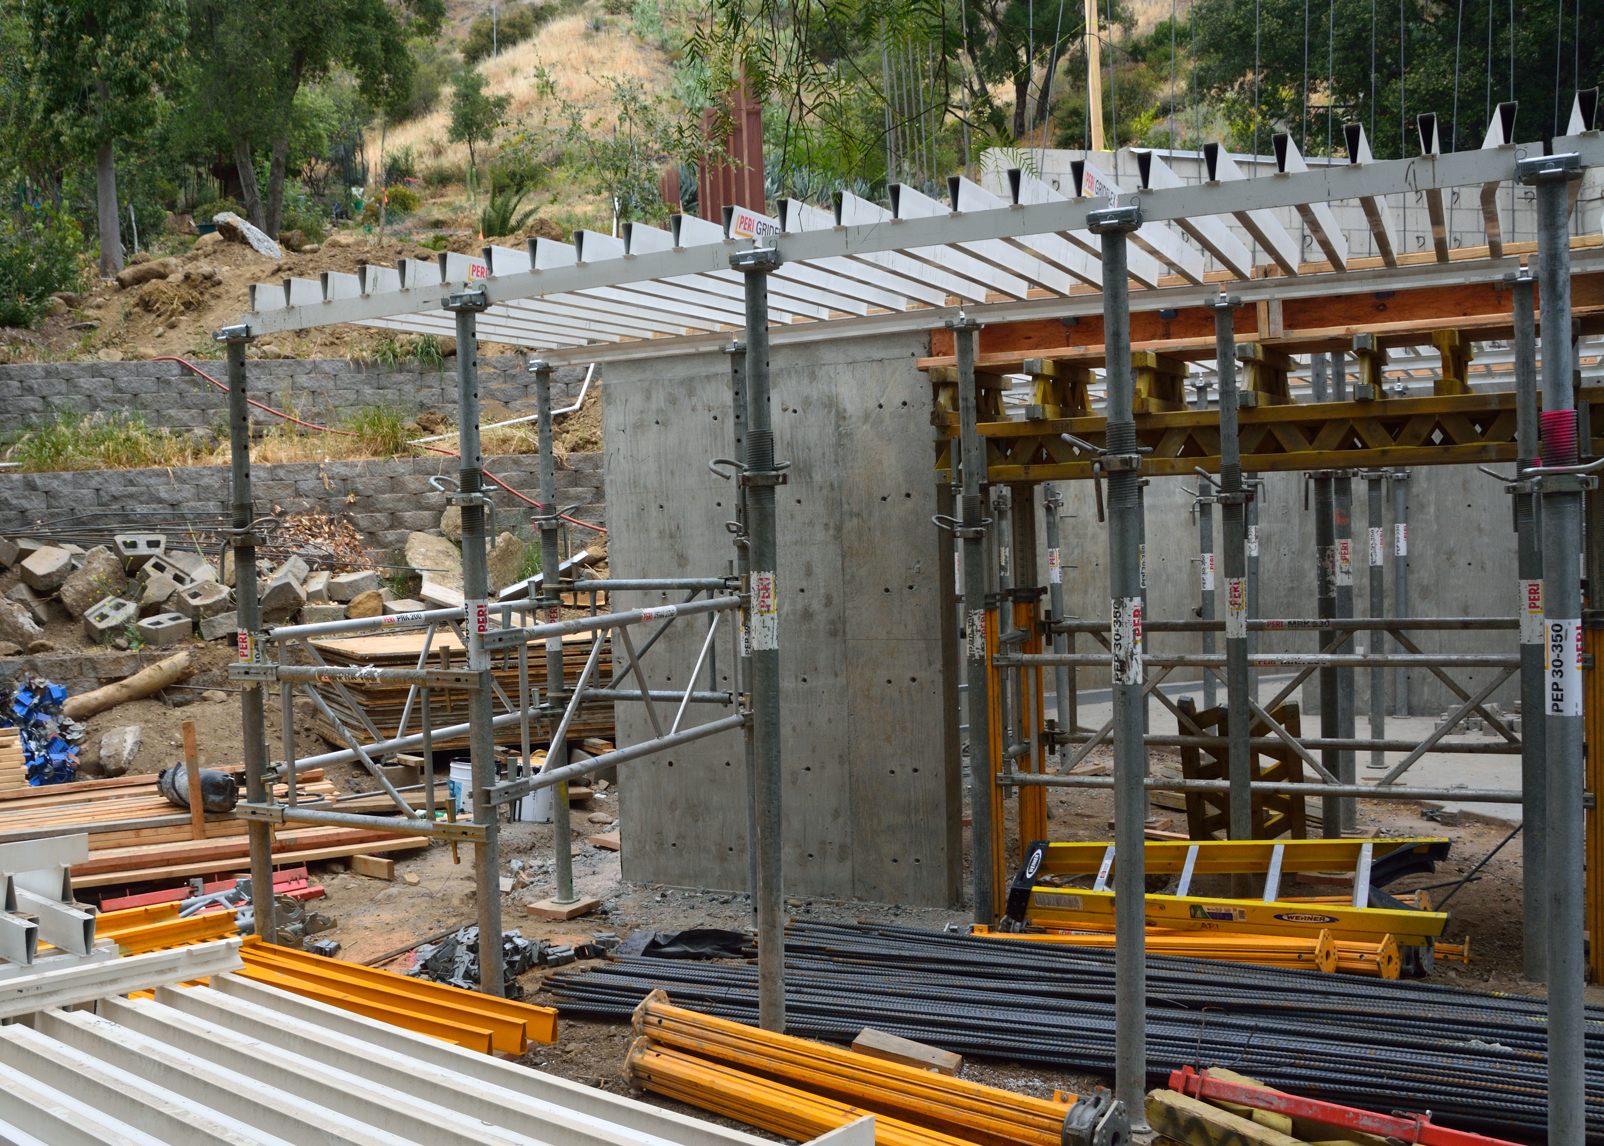
Picture 2 – View from above the garage showing the wooden form for the garage door header in the middle, the decking that, eventually, will support the wood forms for what will be the floor of the apartment and the ceiling of the garage on the left, and the decking that will support the form for the apartment deck on the right.
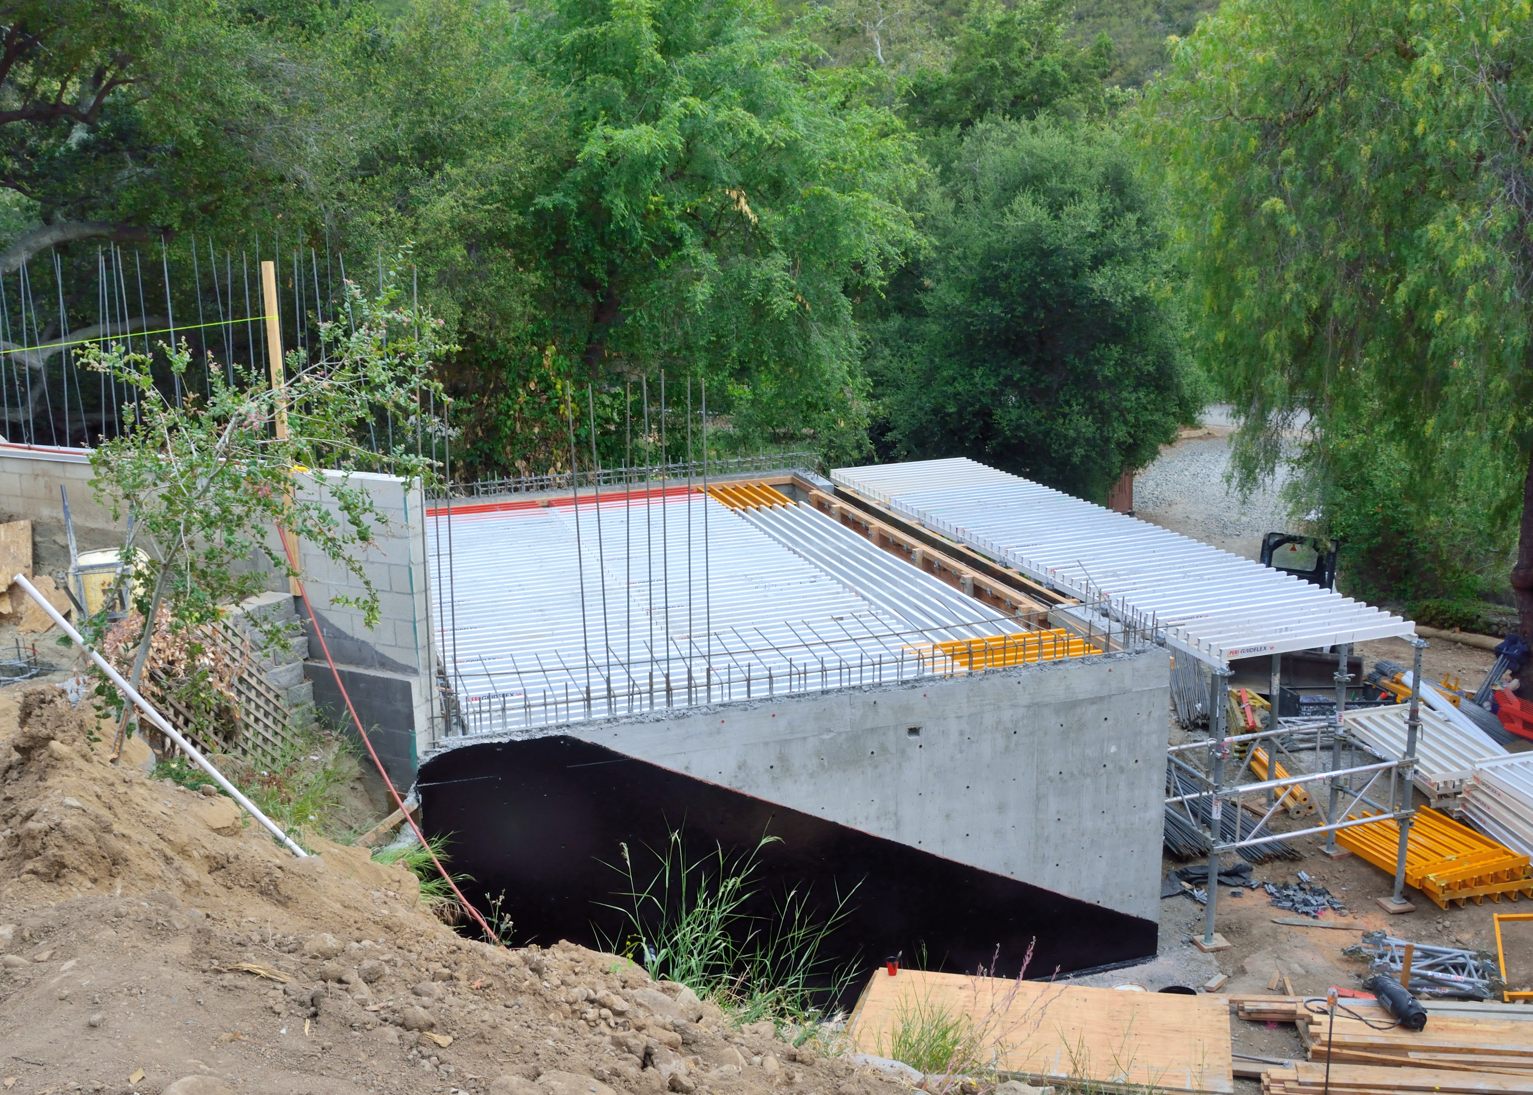
Picture 3 — A wider shot of the garage from above. You can see the black waterproofing where the stairs will eventually go up the side of the garage.
At the same time, the contractor was waterproofing the side of the garage that will be below ground level. The waterproofing was some kind of black, tarry, smelly stuff. The diagonal line you see in Picture 3 is the line where the outside staircase up to the apartment and the house deck will go. In Picture 4, you can see where he also waterproofed the foundation wall for the back of the house. This week they will put what they call a sausage behind this wall: a drainage pipe, surrounded by gravel, all wrapped in a mesh fabric that lets water, but not dirt in. Once that is in place, they can begin to move the many piles of dirt, whose presence is obstructing work on the house itself, to build up the slope behind the wall.
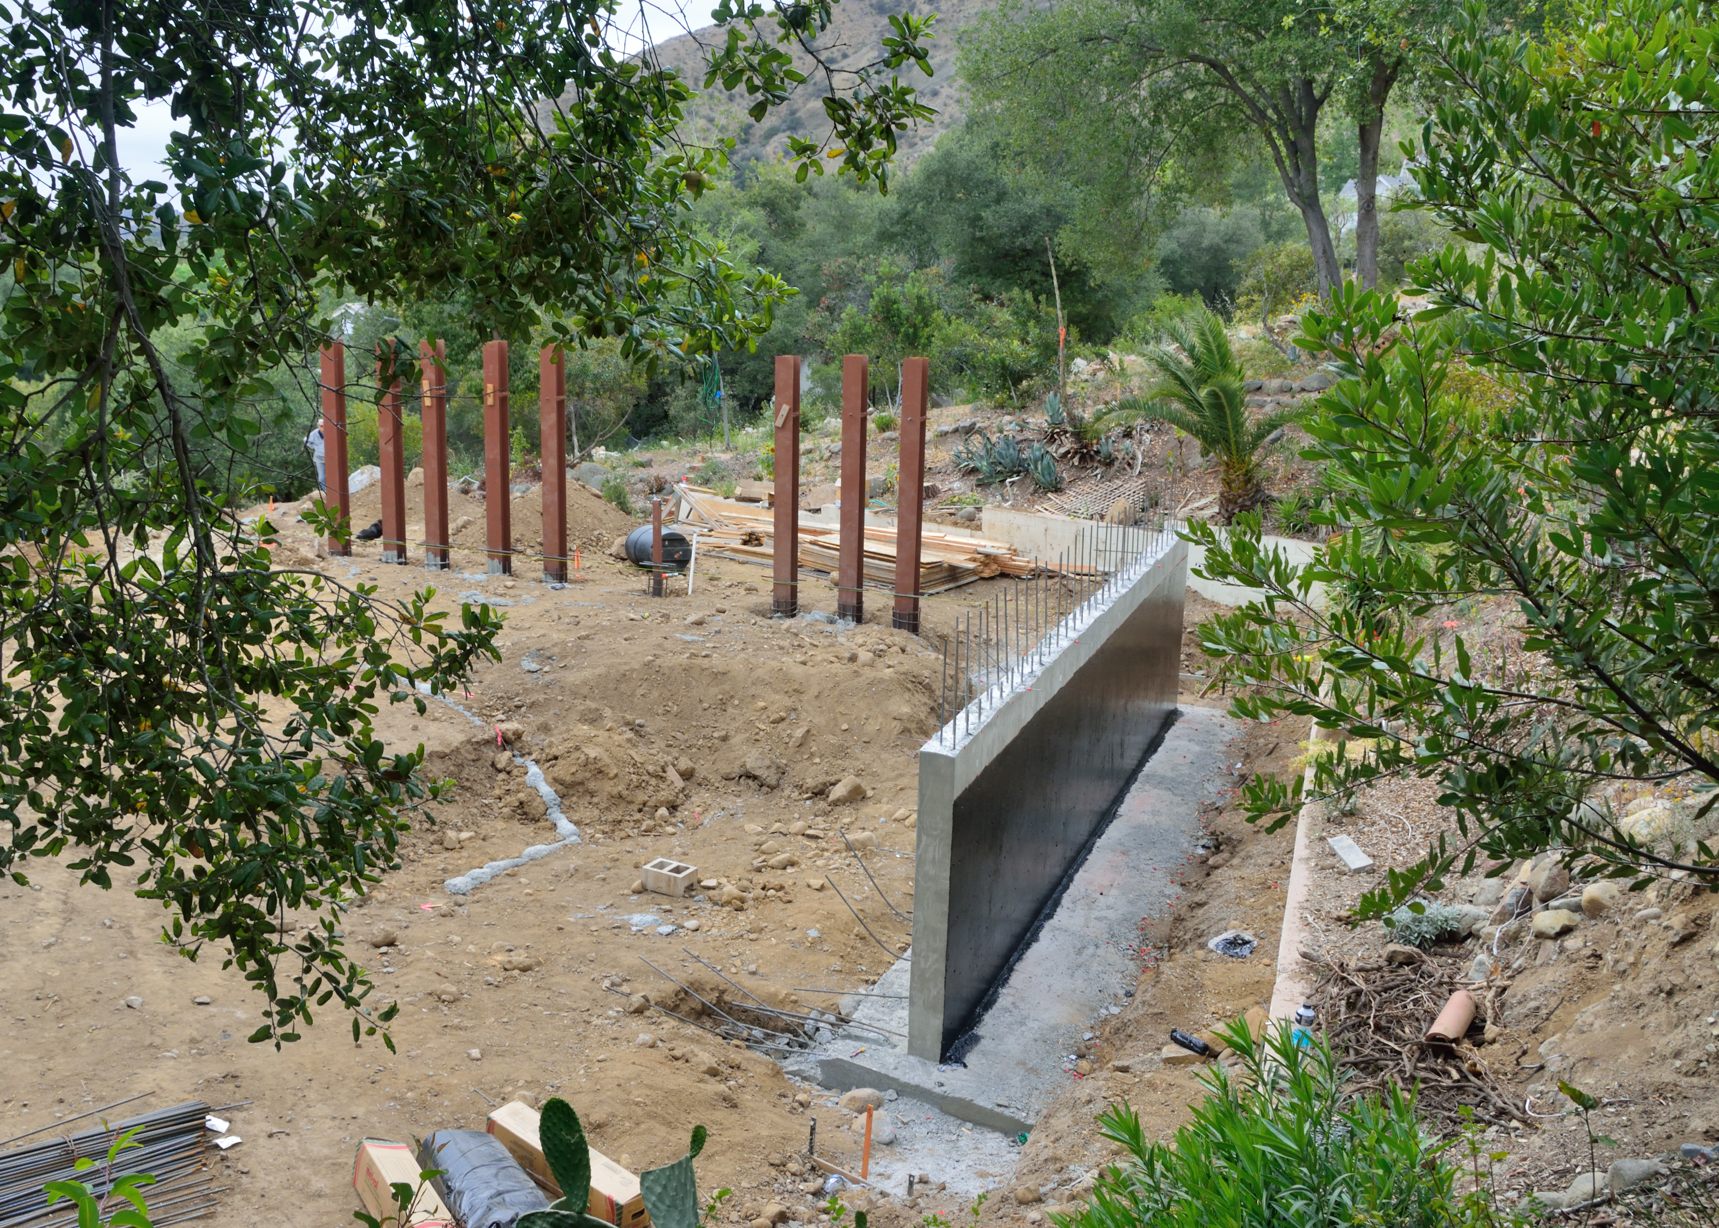
Picture 4 — Retaining wall that will also be the back wall of the house. This wall will let us create an acceptable shallow grade from the back of the house up to the backyard.
For those who like to see construction pictures — and be honest now, really who doesn’t? — here are a few more of the garage from Friday.
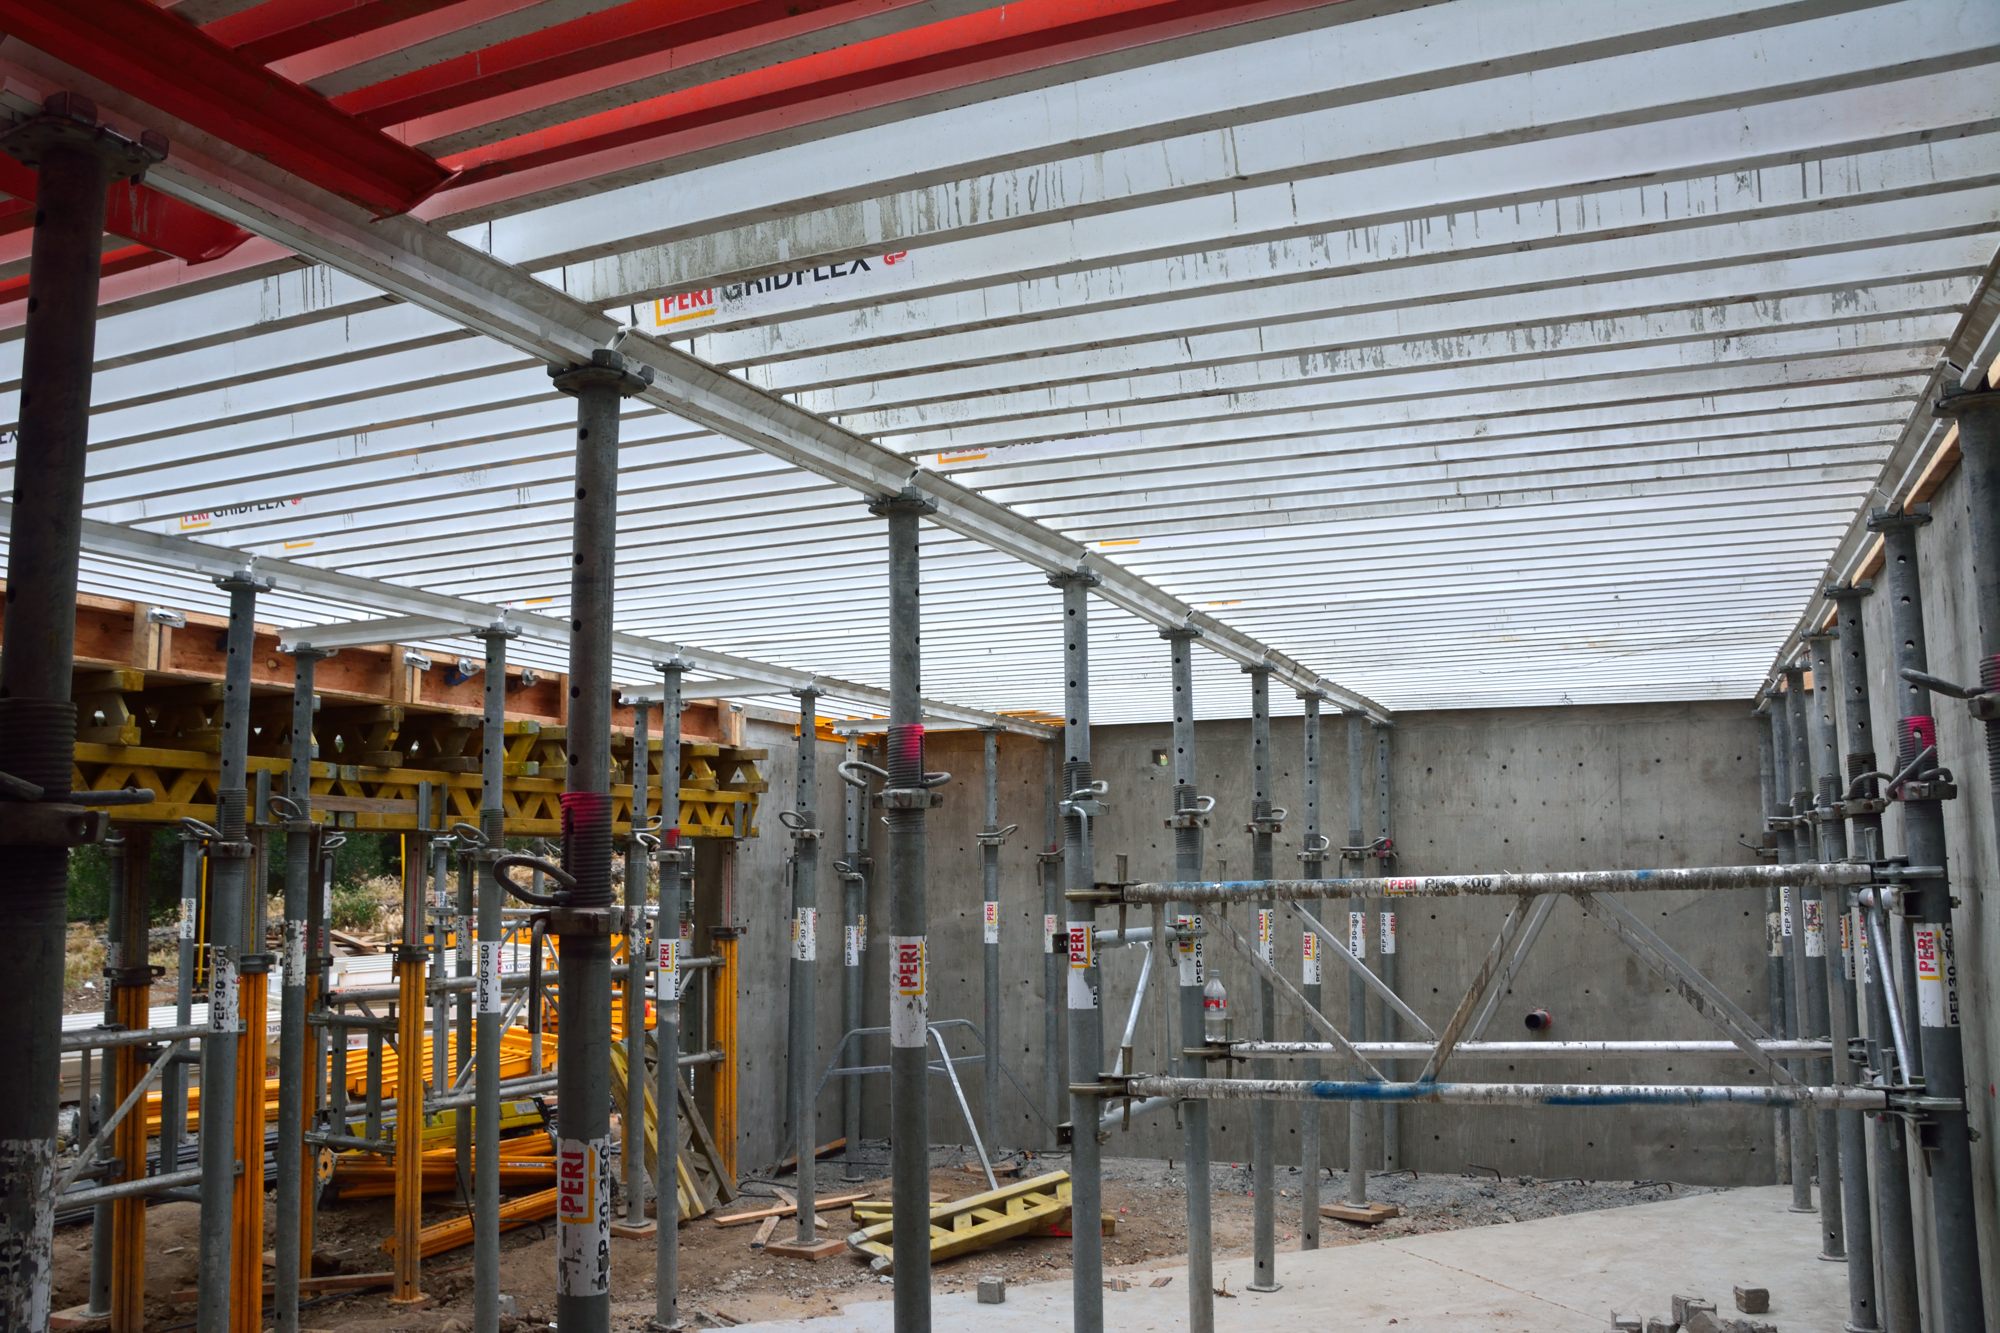
Picture 5 – Inside the main area of the garage (where the cars will go). You can see the supports and the metal decking that will hold the forms for the concrete that will make the ceiling of the garage and the floor of the apartment.
Picture 6 – The front of the garage from the outside looking into the garage door. The scaffolding here will support the concrete deck of the apartment.