It has been almost two calendar weeks (and fully two work weeks) since the last post. For much of this time, not much was happening. Then, this week there was a problem on the WordPress site that Nina uses to host the blog and we could not log in to create a new entry. But now that has been fixed and things are happening!
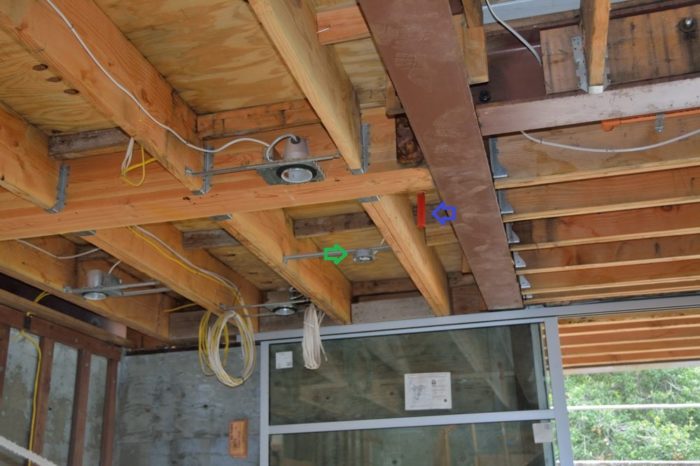
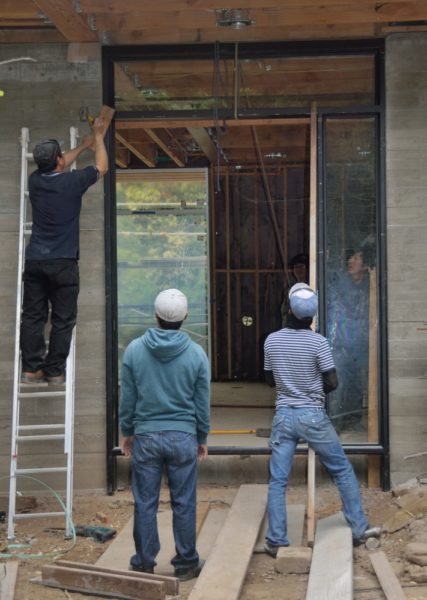
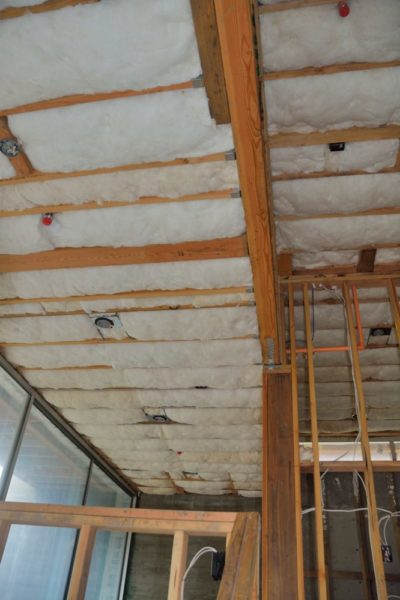
Apparently the main reason that nothing happened for the first of the two weeks is that we were waiting for the fire authority to approve revised plans for the fire-sprinkler system in the house. Given that the system has been in place for a month or two, one might ask why only now did the need to get the revisions approved become salient. Once the plans were approved, the fire inspector came out early this week and did not like a few of the things he saw and required some additional, minor changes. Picture 1 shows one of the issues.
The blue arrow in this picture points to the down pipe for a sprinkler system head. Apparently it needs to be close to where it is, because it must be within 8 feet of each of the adjacent walls. However, the green arrow shows the mount for one of the two ceiling fans in the great room. If that fan were to have three-foot long blades, then they could block the flow of the sprinkler. Solution, move the fan 18″ to the right. This means it is no long in line with the lines of lights, but you cannot have everything.
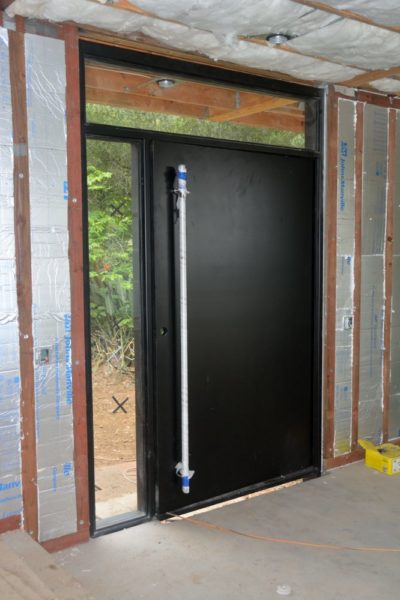
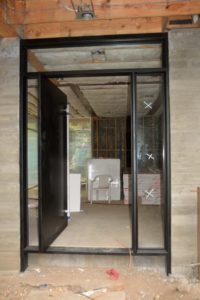
Last Tuesday, when Ted was at the house to consult on the sprinkler system issues, they were installing the steel front door. Picture 2 shows that process in progress. Pictures 3 and 4 were taken today and show the installed door from the inside and the outside, respectively. It is a large, heavy, steel door, so instead of swinging on hinges, it swings on a pivot that is about a foot from the left side of the door looking from the outside.
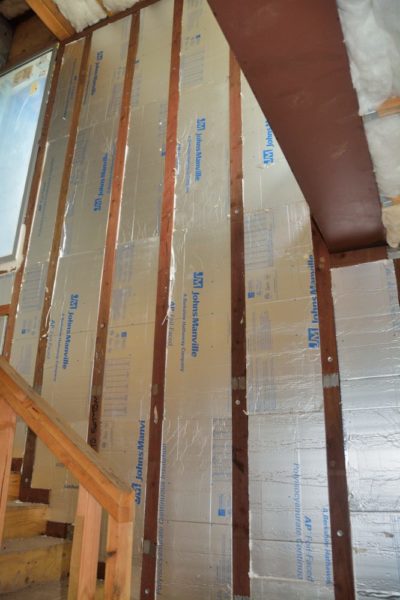
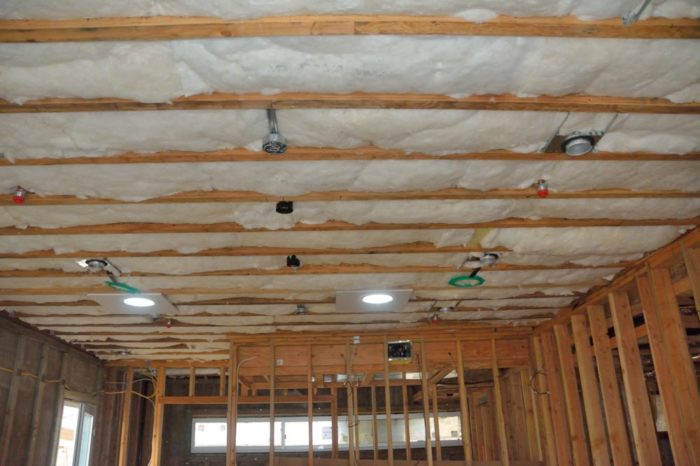
Another thing that they have been doing this week is installing insulation. As you may recall, most of the insulation for the walls is on the outside, under the stucco, so that we can benefit from the heat mass of the concrete walls (see the long entry about this in the blog post from March 9th). The one exception is the wall that contains the front door, because the outside of this wall was “board-formed,” and we wanted that detail to show. However, this meant the insulation for this wall needs to be on the inside and that is what is shown in Picture 5, above. Picture 6 shows that they also have installed the insulation in the ceilings under the roof and, as shown in Picture 7, in the ceilings between the first and second floors where it will mostly serve to deaden sound.
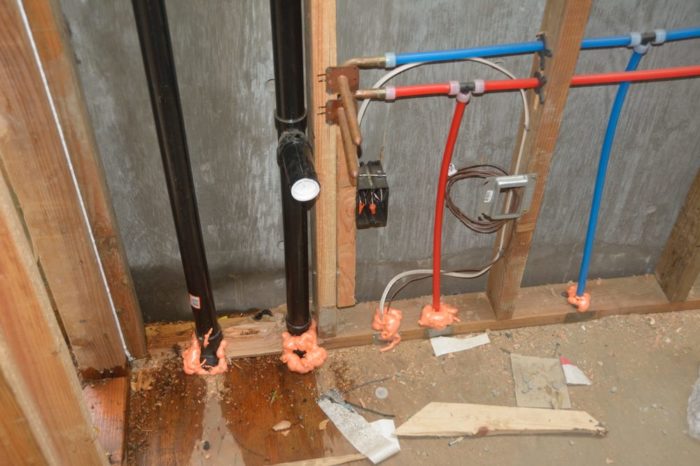
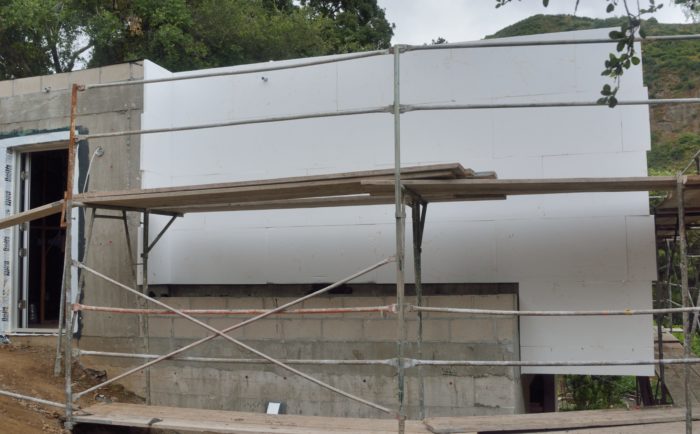
As part of installing this insulation, they have also been sealing all of the penetrations from the ceiling to the roof and between the floors. Picture 8 shows an example of this. Picture 9 shows the first of the insulation being applied to the outside of the house. This is on the apartment.
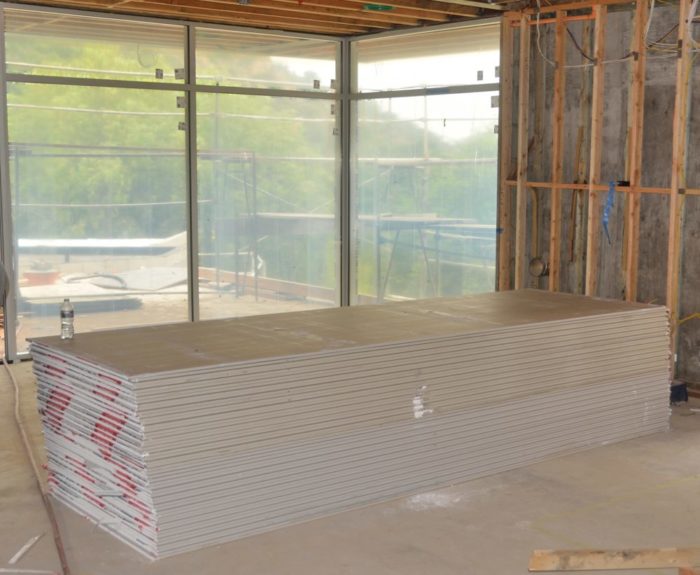
The insulation inside the house was inspected today. That means that they can begin installing the drywall on Monday. In preparation for this there are large stacks of drywall around the house and in the apartment. Picture 10 shows one stack in the great room.
At some time in the last two weeks, they cut the outlets to drain the green roof on top of the apartment, as shown in Picture 11.

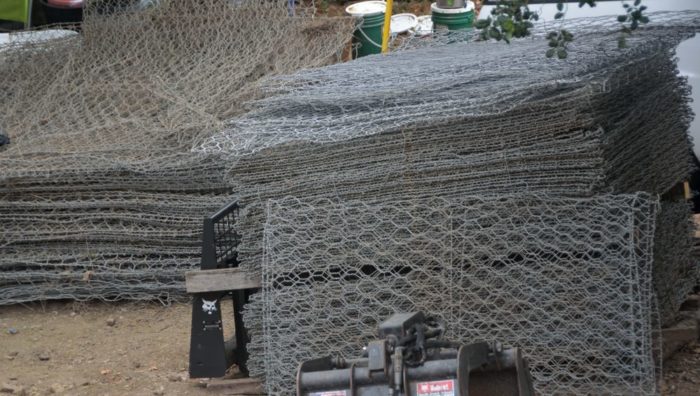
Pete left this week to go to New Mexico. Unfortunately, he will not be back for 6 weeks or so because he needs to have and recover from knee meniscus surgery. Before he left, he found and purchased for a great price a stash of 30 year old gabions. These are shown in Picture 12. We will use some of these on the property as we uncover rocks terracing the backyard when Pete returns; but basically, what canyon dweller doesn’t need a hundred or so gabions?
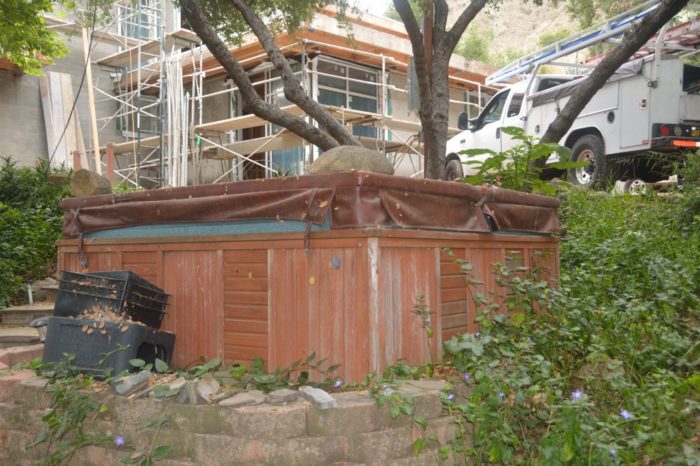
Picture 13 shows the hot tub that has been sitting by the front driveway. Nina has always sort of wanted to move and keep it; Ted less so. However, it is not in great shape and we have decided to get rid of it.
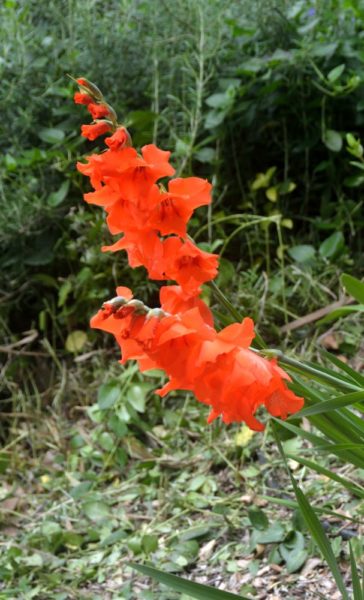
We leave you for this week with Picture 14, a spectacular gladiolus growing on the slope between the garage and the orchard.