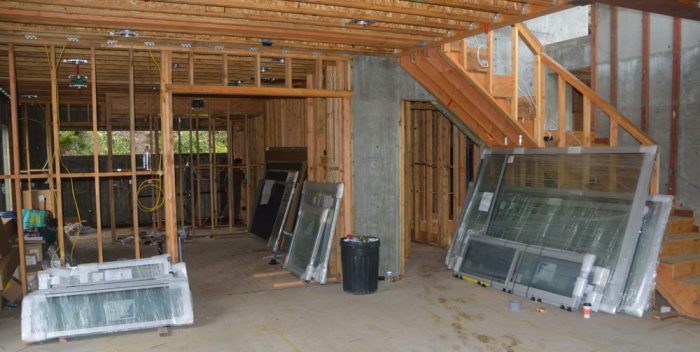
We now have a house full of windows waiting to be installed (Picture 1). As they hustle to get everything ready for the window installation there has been lots of activity. The grading work was given extra urgency by the forecast of rain tomorrow (Thursday) and Sunday. They really want to get all of the piled up dirt placed and compacted behind the new retaining walls before it turns to mud. This blog has photos that we have taken over three days during the last week, but have not had time to post. (Ted spent all of Saturday cooking in preparation for the large Mother’s Day brunch that our church does each year and that threw much of his schedule into disarray.)
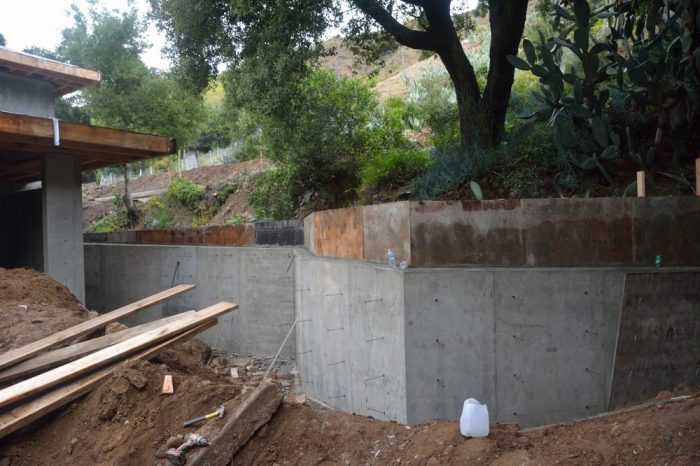
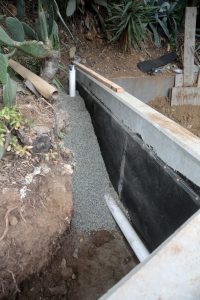
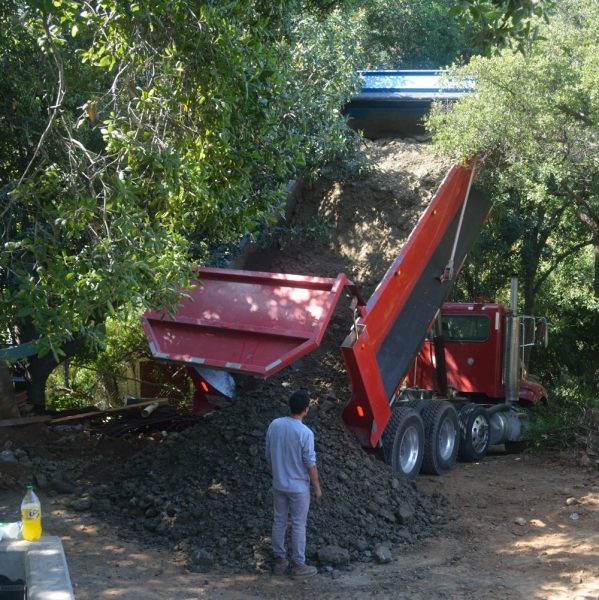
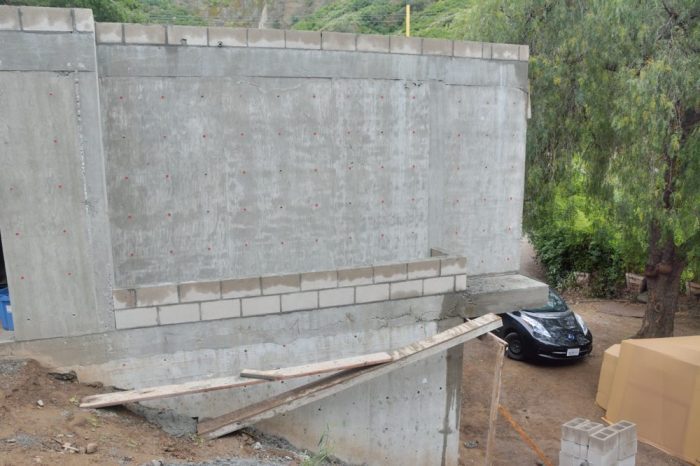
Picture 2 shows part of the east wall taken last week after they had started taking off the forms used to construct it. Pictures 3 and 4 were taken on Tuesday and show the process of waterproofing the wall, providing drainage behind it, and then using the soil that they had saved from digging out the area for the wall to fill in behind it. Because the grade behind the house is being raised, they had to bring in additional soil for fill (Picture 5).

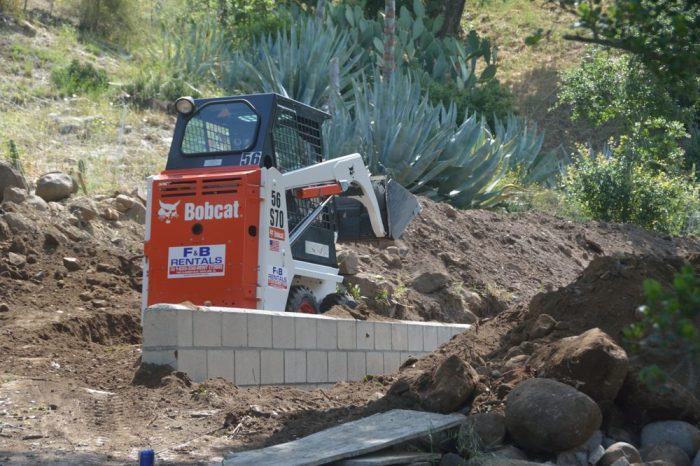
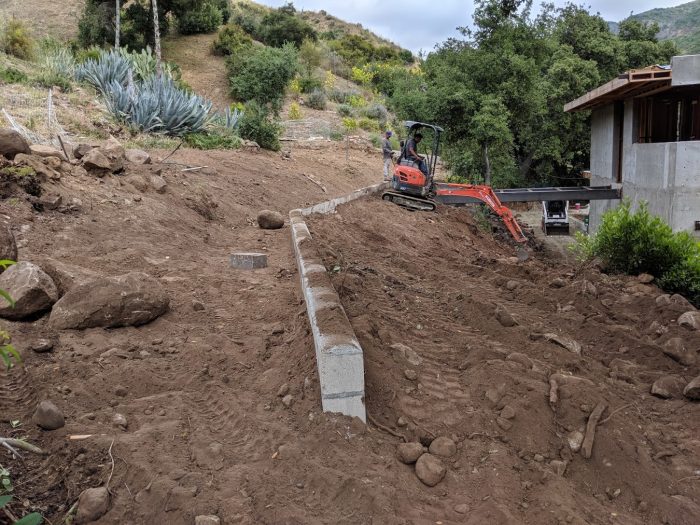
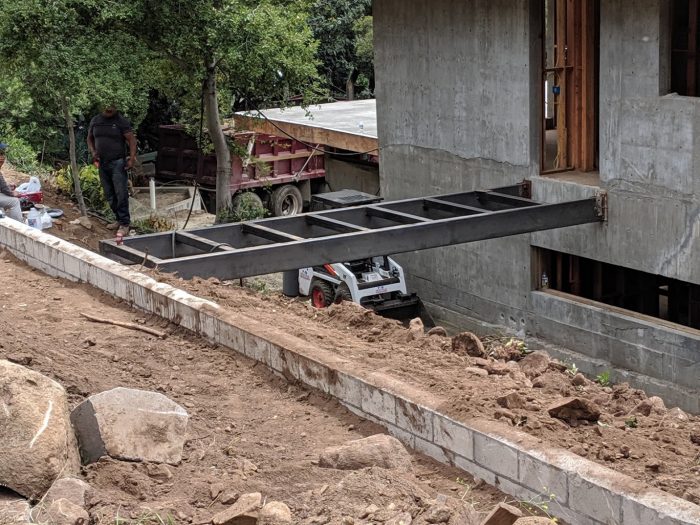
They have also been working on the area around the diversion wall and on constructing the slope between this wall and the back of the house. For this work, they brought in a special, small Bobcat with a narrow bucket (Picture 6). Picture 7 shows this grading work closer to completion, with yet a different machine doing the work. In the background of Picture 7, you can also see that they have installed the steel framework for the bridge from the second story of the house to the backyard. This is shown more clearly in Picture 8.
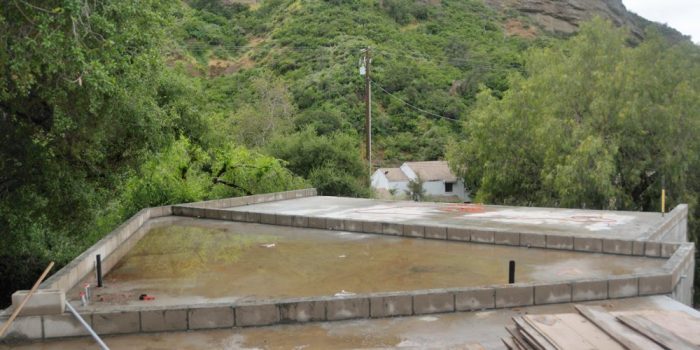
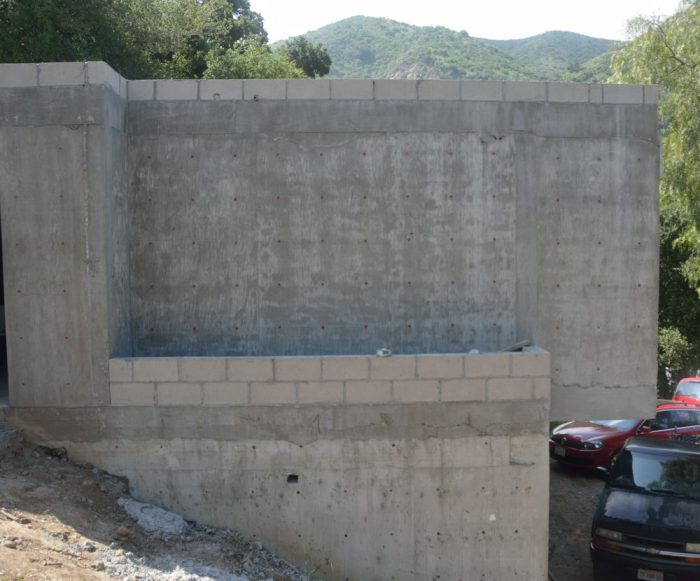
When they were building the retaining and debris walls, they also built several other things out of concrete. Picture 9 shows the edging for the green roof on top of the garage/apartment. This is what you will look out over from the deck. Pictures 10 and 11 show two stages of the construction of the planter on the north side of the apartment. The difference is that, in Picture 11, an extra piece of concrete flooring, that was poured by mistake, has been removed. Picture 12 illustrates how, taking this extra concrete out reveals the intended design — a rectangle sitting on a second, offset rectangle.
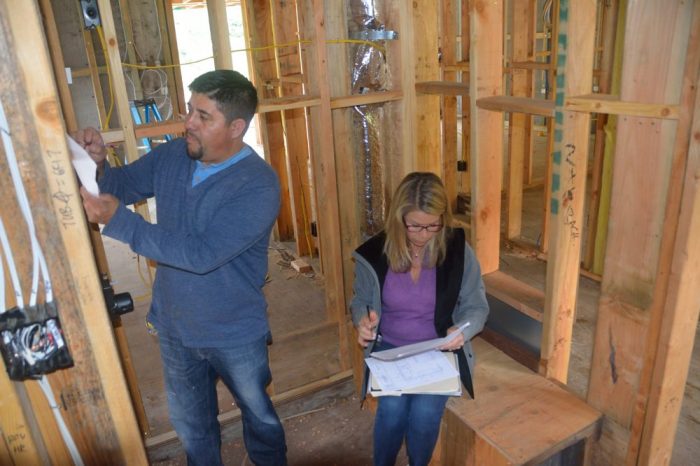
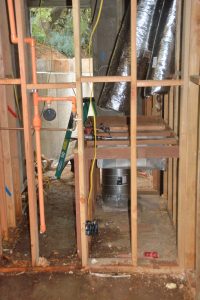
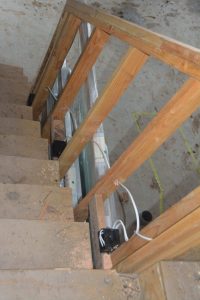
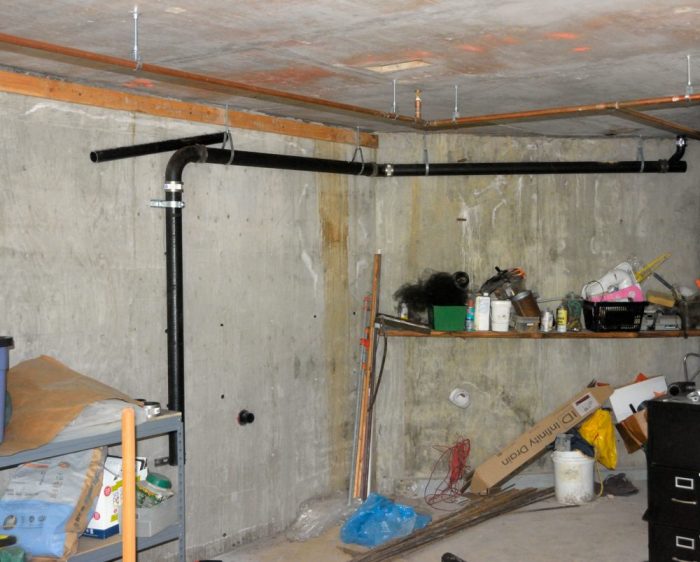
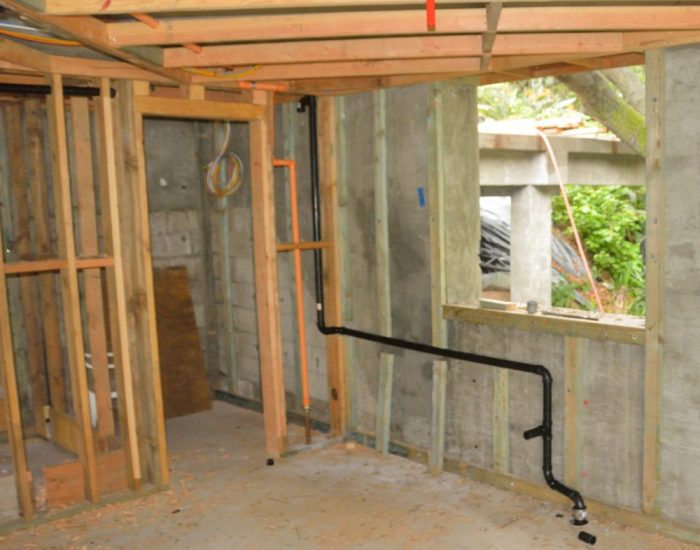
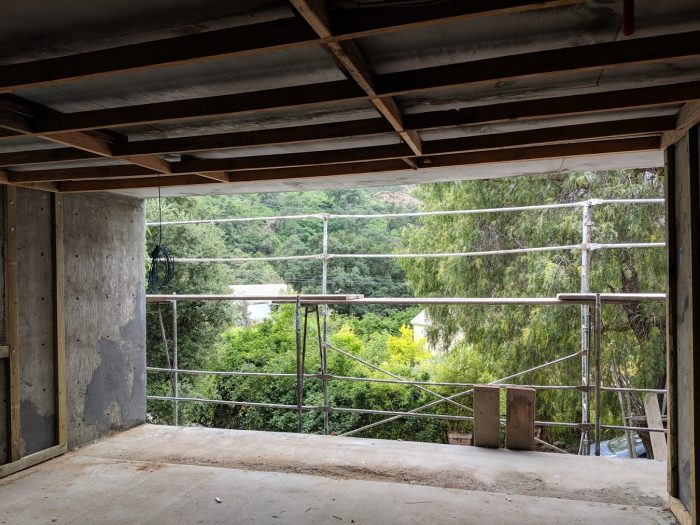
While all of this concrete work and the grading were happening, other trades have been busy inside the house and the apartment. Picture 13 shows Julio, the cabinetmaker, and Julie, the designer last week as they were going over the design for the guest bathroom. When it was first framed, the utility room seemed huge. Now as things go into it, it is beginning to seem a lot smaller. Picture 14 shows a frame that will both create an air plenum and support the two air handlers for the house. The electricians have also been busy. Lots of what they have been doing is not particularly obvious, but Picture 15 shows the new boxes they have added to the banister for the step lights on the stairway to the second floor. The plumbers have also been busy in the garage/apartment. Picture 16 shows the waste piping running to the sump pump in the floor of the garage. Picture 17 shows the drain pipes for the kitchen sink in the apartment. The last photo, Picture 18, is the view out of the main window in the apartment. Although the view is wonderful, the point is that it shows the beginning of the scaffolding going up around the garage/apartment and the house. This is the scaffolding that will be used to put up the insulating panels and do the stucco on the outside of the house. This is also the scaffolding that needs to be in place so that they can install the waterproofing materials that need to be in place so that the windows — remember all those windows sitting in the house in Picture 1?! – can be installed next week.