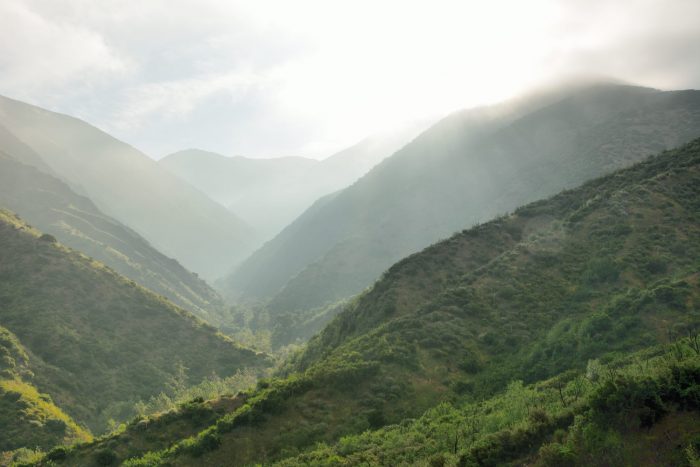
Yesterday, Ted’s colleague Charlie Chubb helped him cross off another bucket list item: hiking the truck trail from our house to Modjeska Peak. They started early on a day with low, coastal effects clouds (Picture 1). Picture 2, taken about 5 miles into the hike, shows that, by that point, they were above the low-level clouds that had, by then retreated to close to the coast.
They did not actually do the final climb to the peak. After hiking about 10 miles and climbing 3600 feet, they decided to skip the last 1.5 miles (500 feet of elevation). It was getting late (having left at 7AM it would be 5 PM before they made it back down, they were beginning to get tired, they knew that they still had to hike at least the 10 miles back down, and it was getting foggy so there would not have been good views form the peak had they reached it.
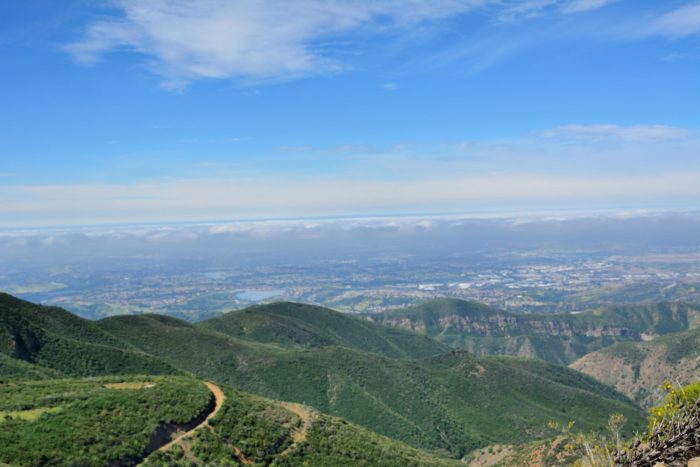
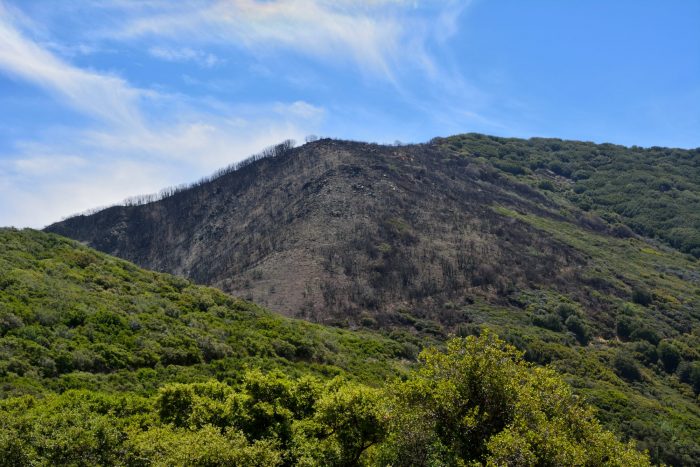
What they reached is called the Main Divide Rd. This is a fire road that runs along the ridges that connect the peaks, forming the spine of this section of the Santa Ana mountains. From this ridge, they could see that one flank of Modjeska peak had burned in last fall’s Holy Fire (Picture 3). This happened right after Haywood’s wedding when we were away. We and the other canyon residents were fortunate that the winds blew toward the east all during this fire; the so-called Santa Ana winds, from the west would have brought the fire down into our canyons.
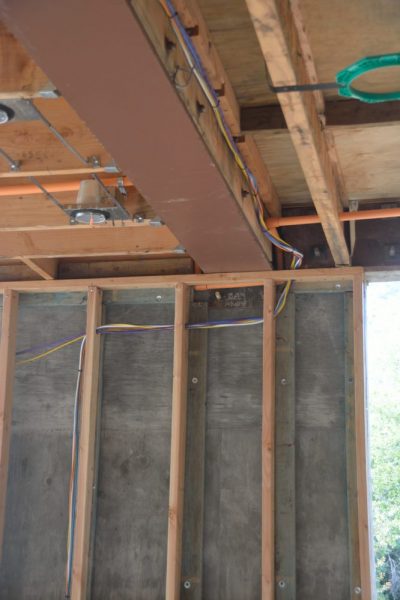
Nina joined the guys on the way back down and we all went to the house to see the progress from the last week. Picture 4 shows that the workers added an additional 2×4 wall onto the west wall of the Great Room. Although we lose some interior space, this was necessary to create a path to run the wires under the large steel beam. This shows the AV wires, but, eventually, wires for power and a water line will need to follow something like this route.
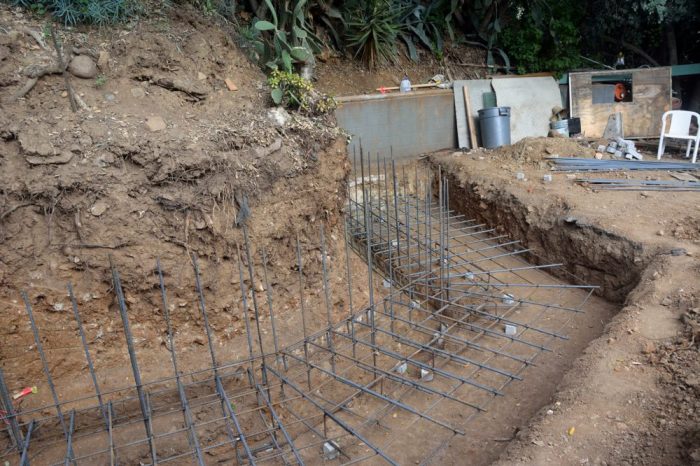
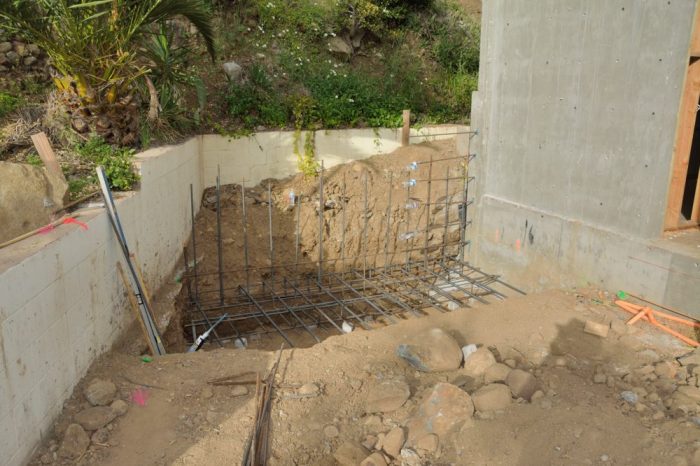
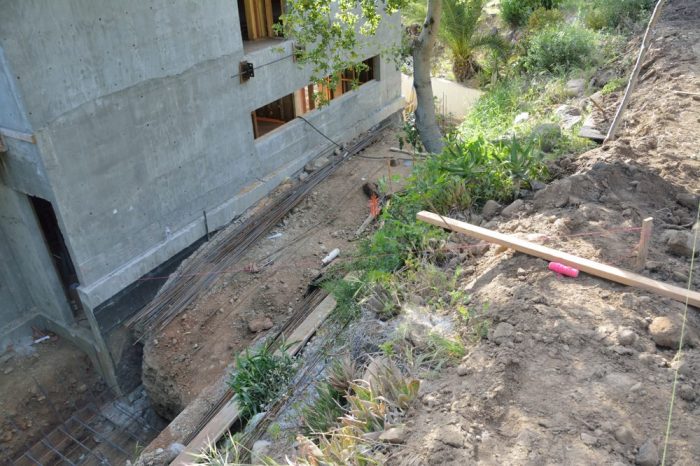
More exciting, however, they dug the foundation and put in the rebar for the retaining walls on either side of the back of the house. With luck this concrete will be poured on Wednesday. Picture 5 shows part of the wall on the east; Picture 6 shows all of the much smaller wall on the west side. Picture 7 shows the back of the house connecting these two retaining walls. The pink string roughly indicates what will be the top of the slope running from the house to the backyard.
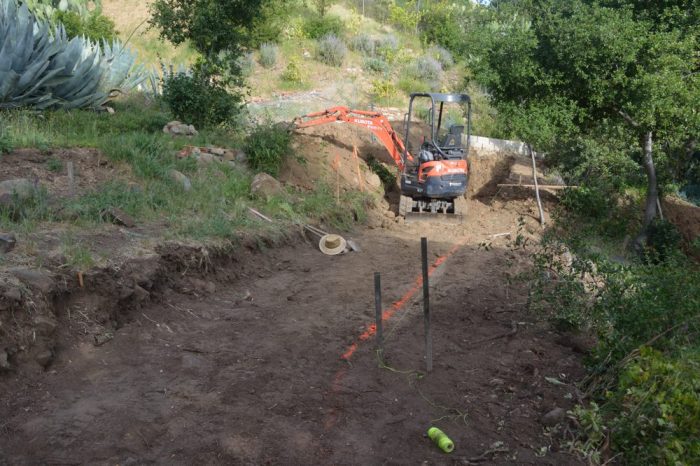
The workers have also started work on the diversion wall that will be above the house at the bottom of the backyard. This wall will form the downhill side of a shallow drainage ditch that will keep any water flows that might come down the hill from getting to the house, carrying them to the western gully instead. The purpose of the diversion wall is to catch any boulders that might come down the hillside and keep them from the back of the house.
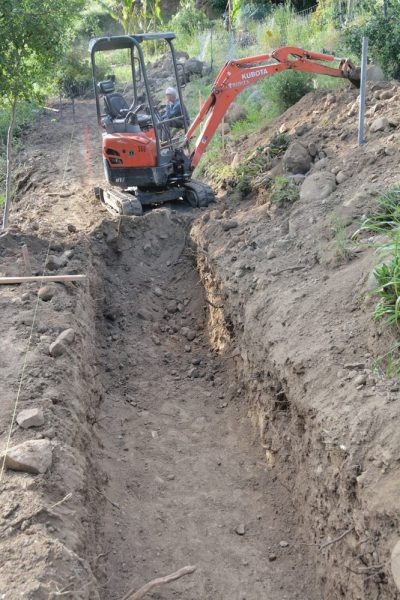
Picture 8 shows the area that they flattened so that they could dig the footing for the diversion wall. Picture 9 shows the initial part of the trench for that footing. The eventual plan is to terrace the backyard above the diversion into three levels and use this are as a large garden.