This week they have been finishing the rebar and putting up the forms for the first floor walls at the back part of the house, the part that will eventually be two stories. They will pour these walls Friday morning. Next week, the framers will come in and build the floor of the second floor, which then can serve as interior scaffolding while they do the rebar and forms for the second floor. They are waiting to do the walls for the great room, the front part of the house, until the duct that has to go under the slab in that part of the house is delivered.
This process of placing the rebar and building the forms is, in some ways, more complicated and time consuming that simply building the walls of wood. Because of
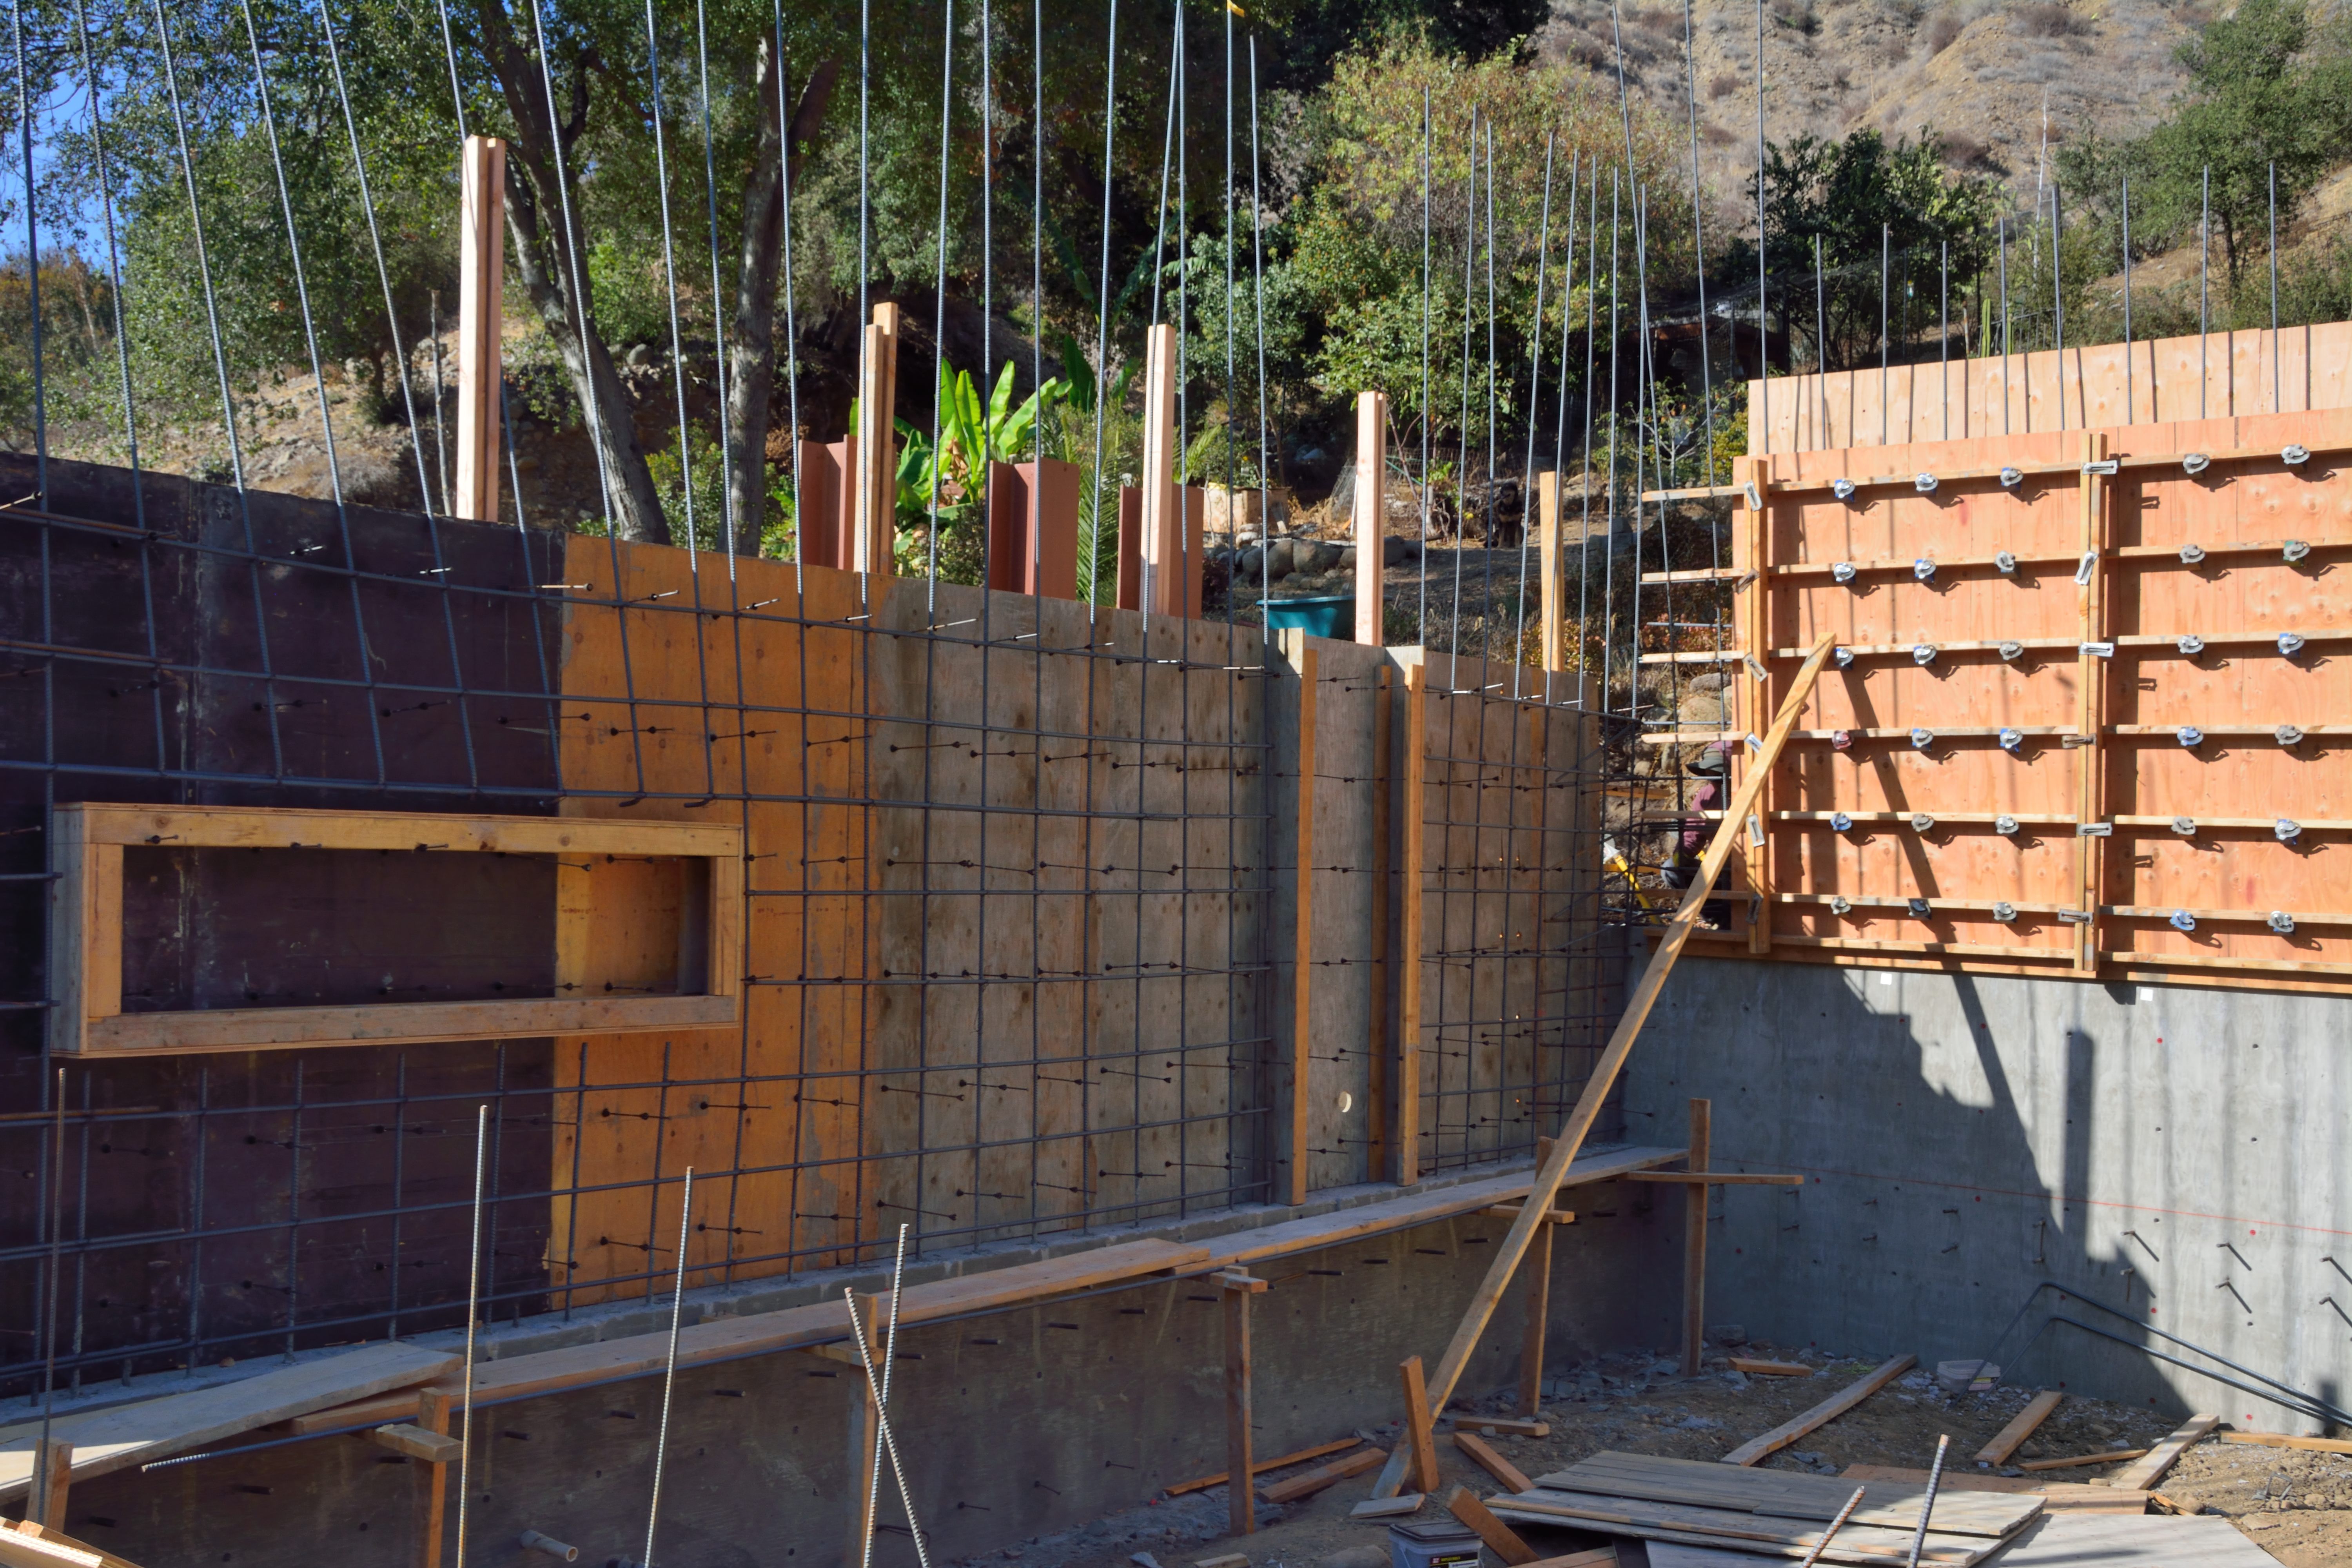
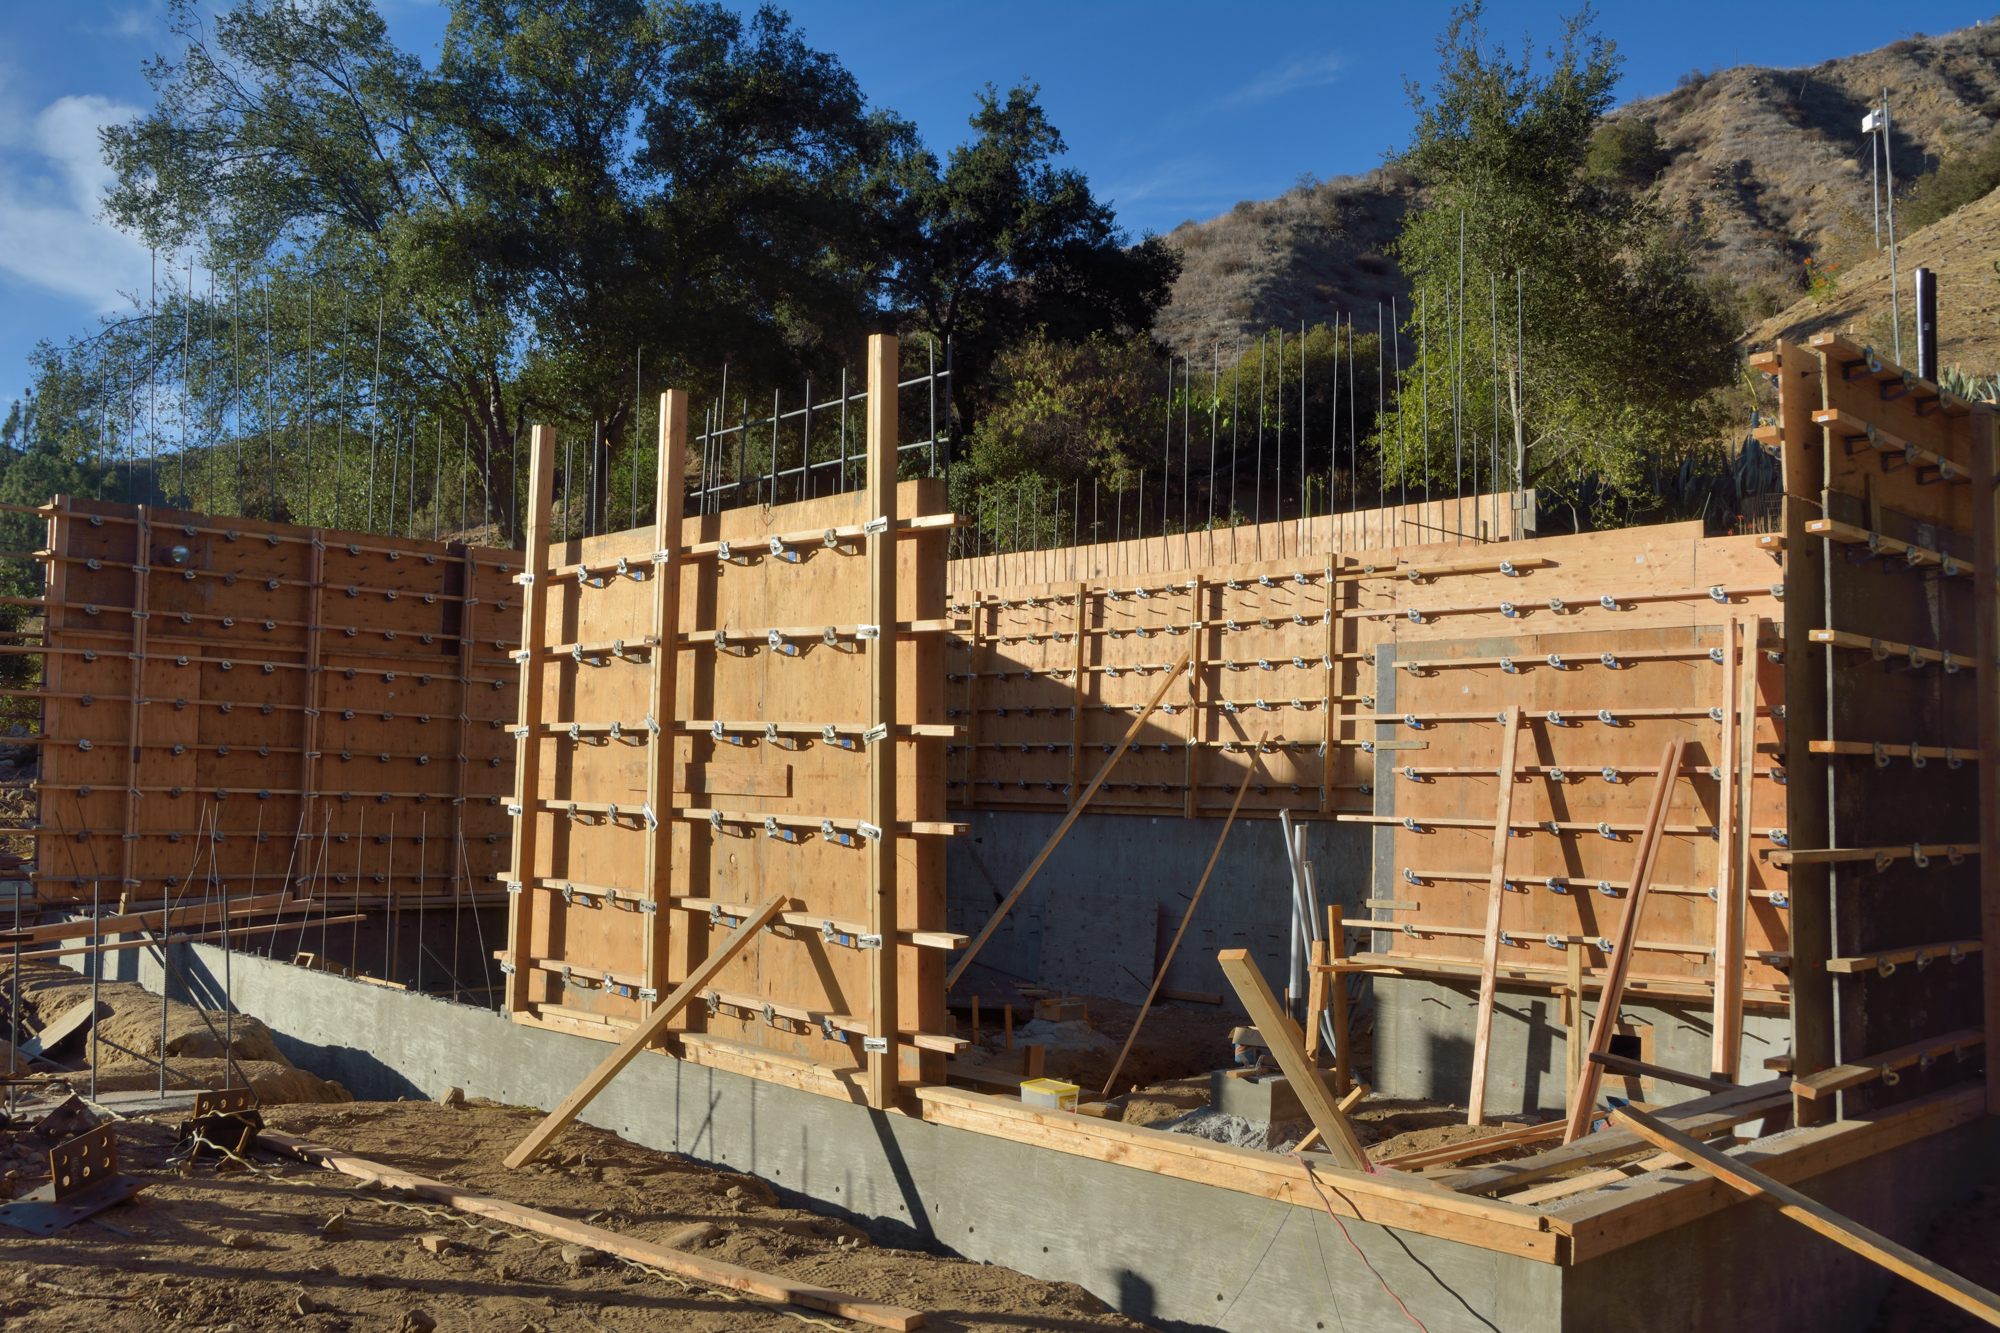
Picture 1 shows the west wall of the house with some of the rebar and the plywood forms on the outside in place. The is the outside wall of the kitchen. The laundry room will be along the north wall at the back. You can see in the west wall where they have blocked out the window into the kitchen and the door to the outside. You can also see that this side of the house will be over a generous crawl space. The temporary scaffolding built along the bottom of the wall is at roughly the level of the first floor; everything below will be in the crawl space.
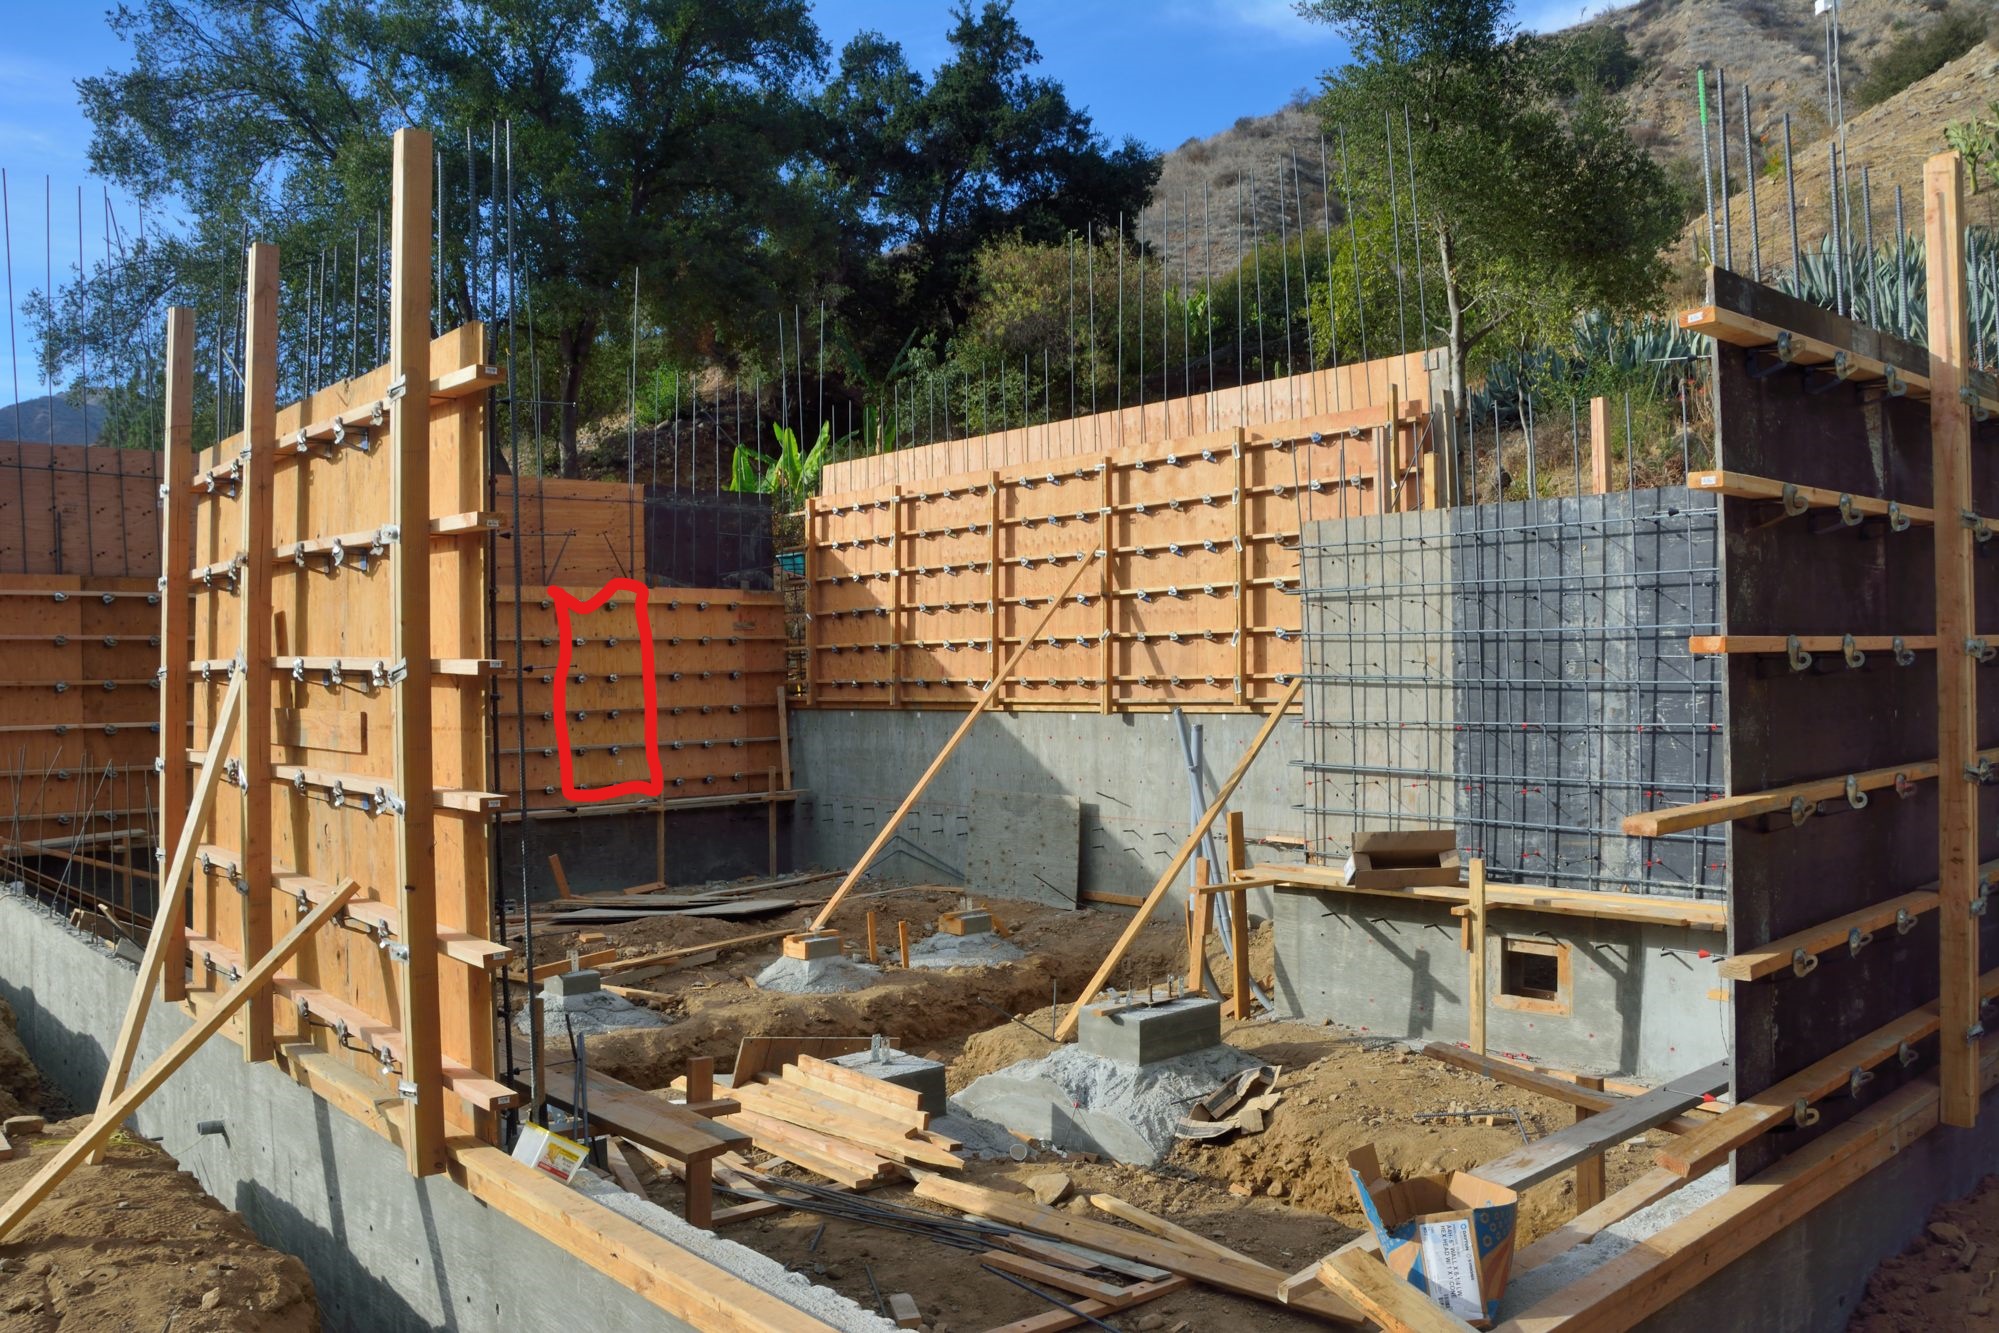
In Picture 2, you can see the same west wall in a larger context. This picture was taken from a location in front
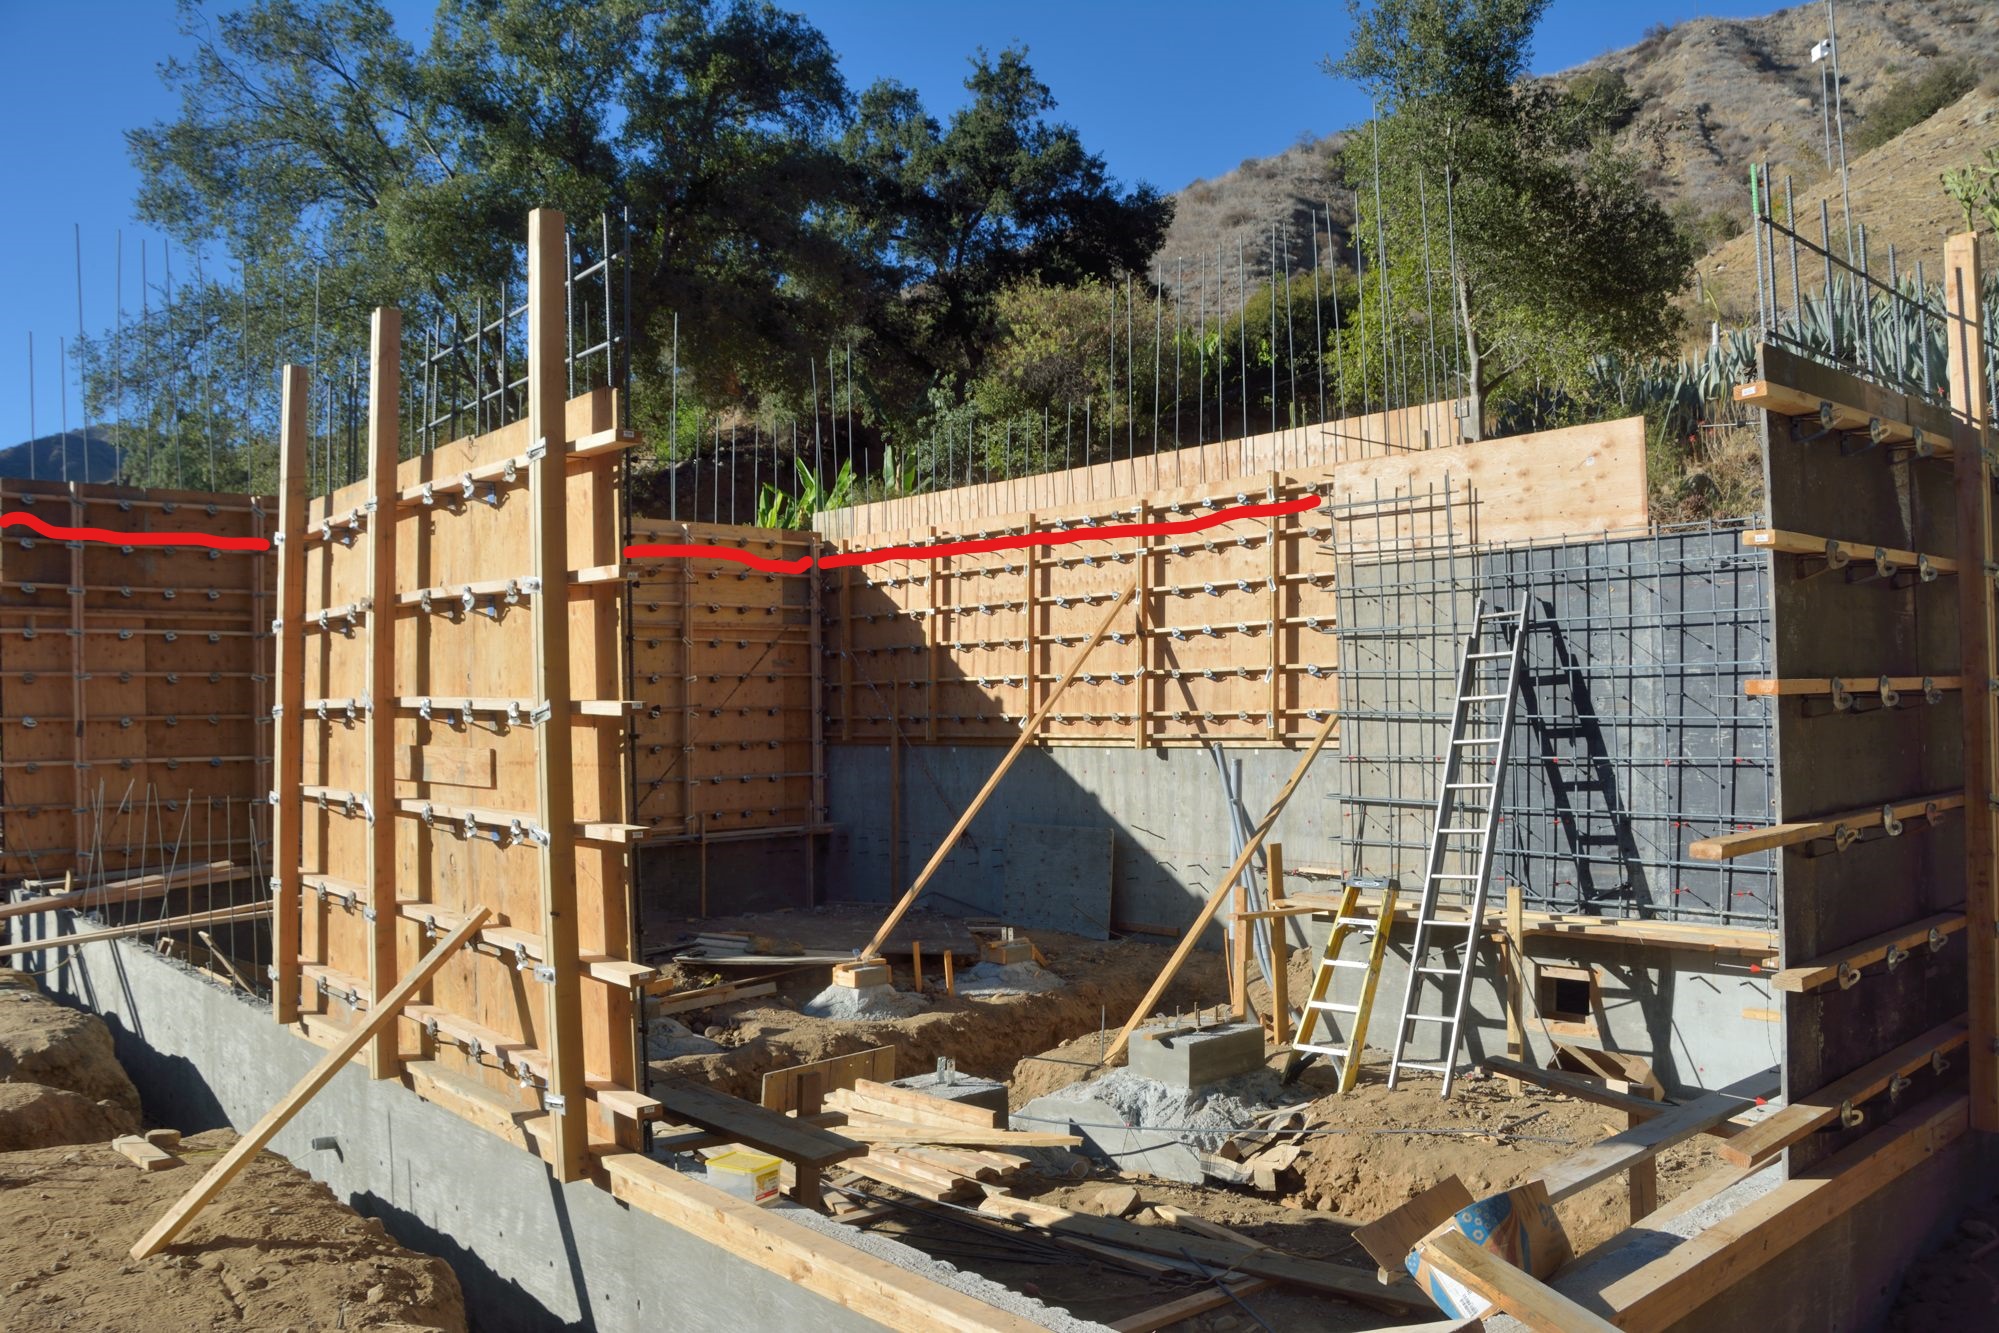
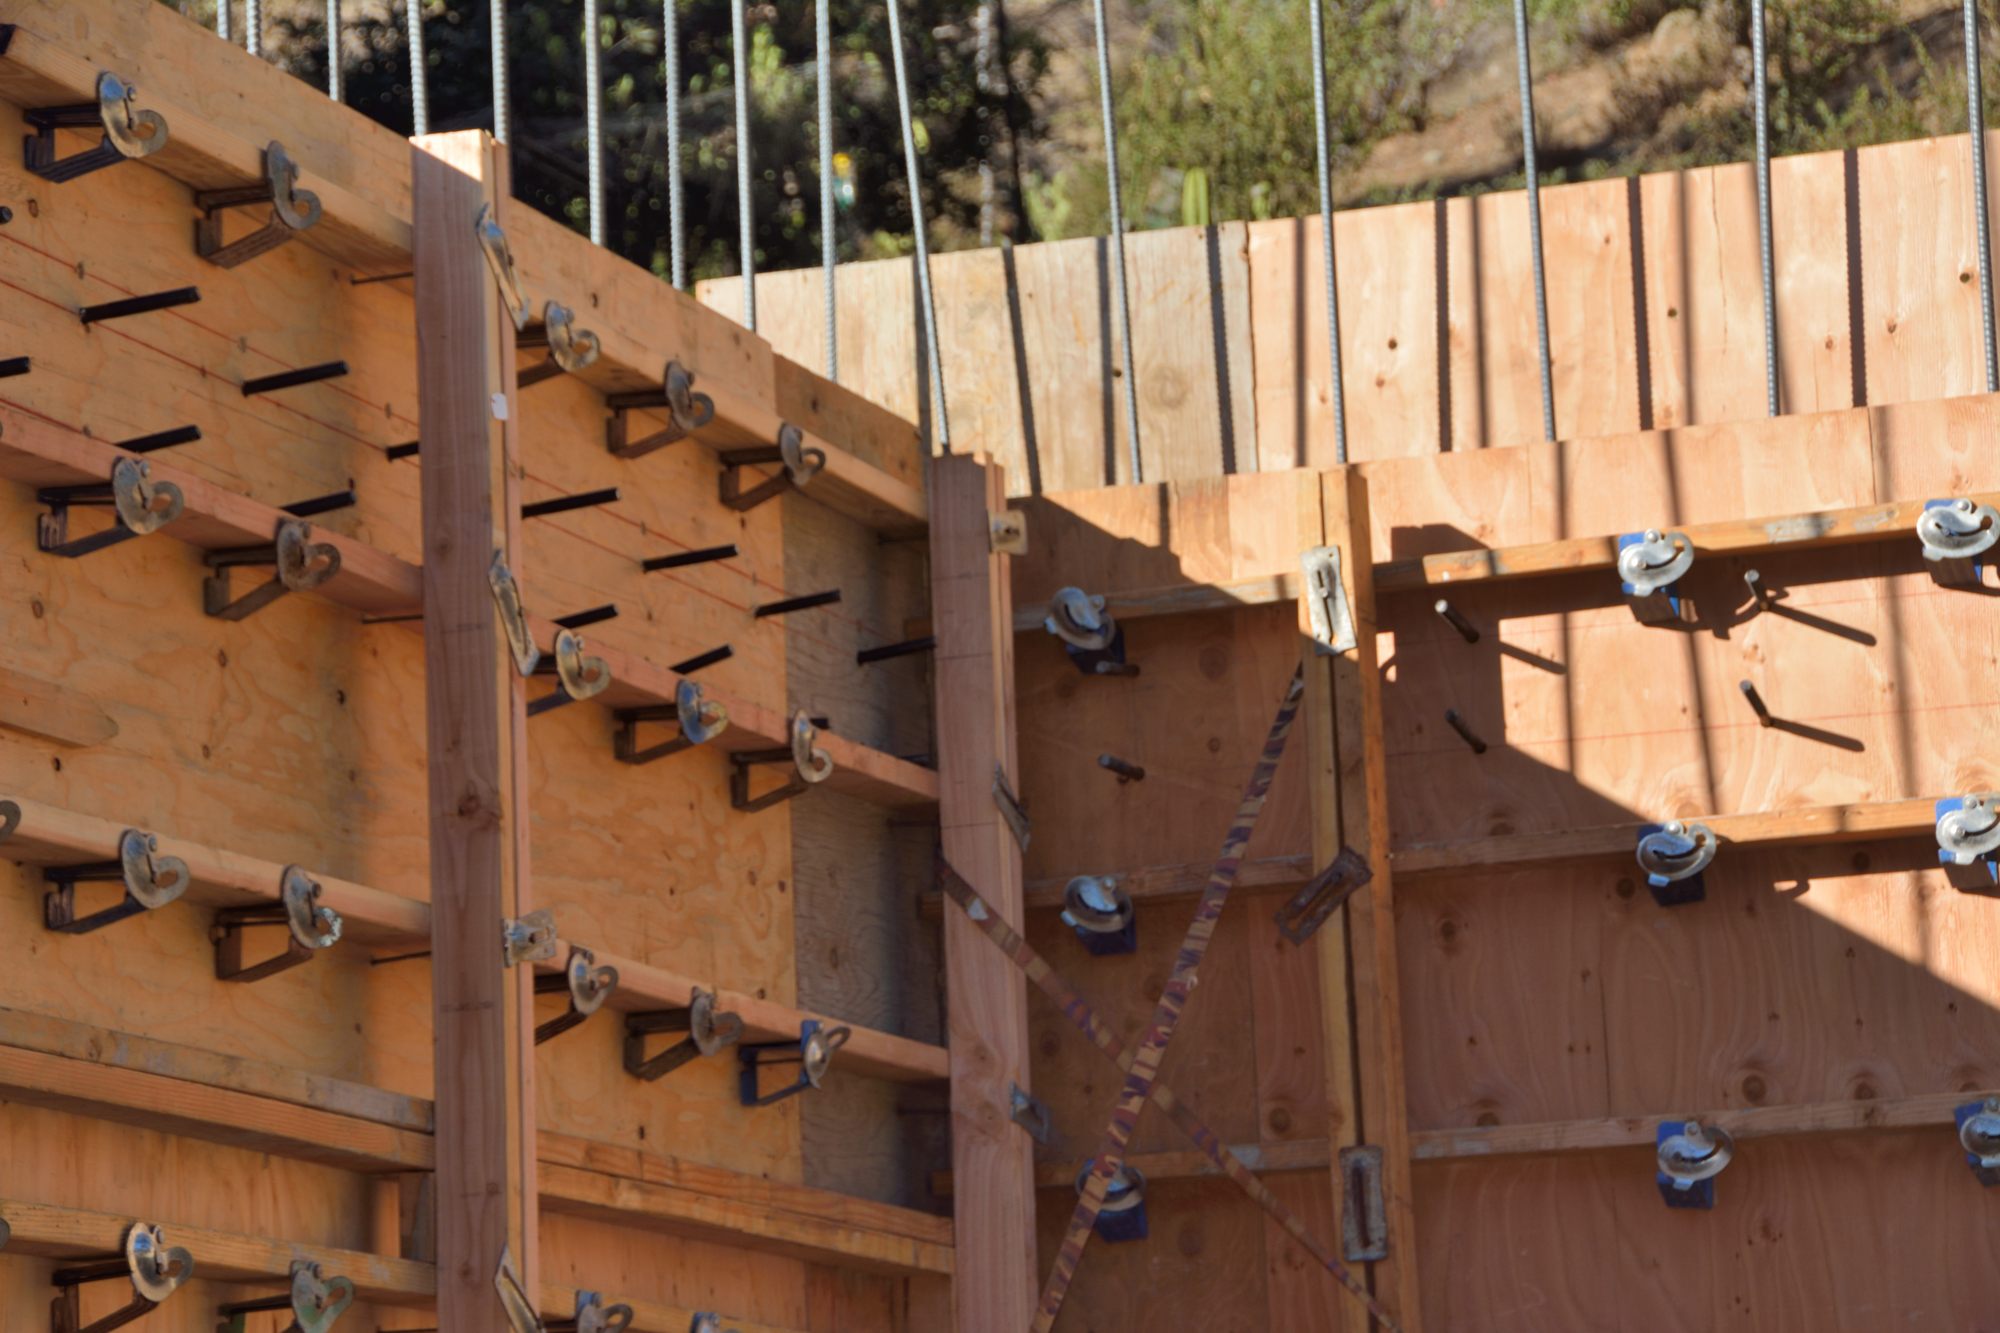
The first floor ceilings are 10 feet high and the framing to create the floor above adds roughly another foot, so the walls that they are pouring will be eleven feet high — this is close to the maximum vertical height that they are allowed to of at one time. Picture 3 shows the west wall with the interior plywood forms added to the full height. The red line on the west and north walls shows where the framing for the second floor will be attached. Picture 4 is a close up of the bolts that will be used to attach the
Picture 5 shows the last stage of this process. Here they have finished the rebar and the plywood forms for the north wall of the master bedroom. Even though this and the wall on the east and south sides of the bedroom are only single story walls, they plan to pour them this time round.
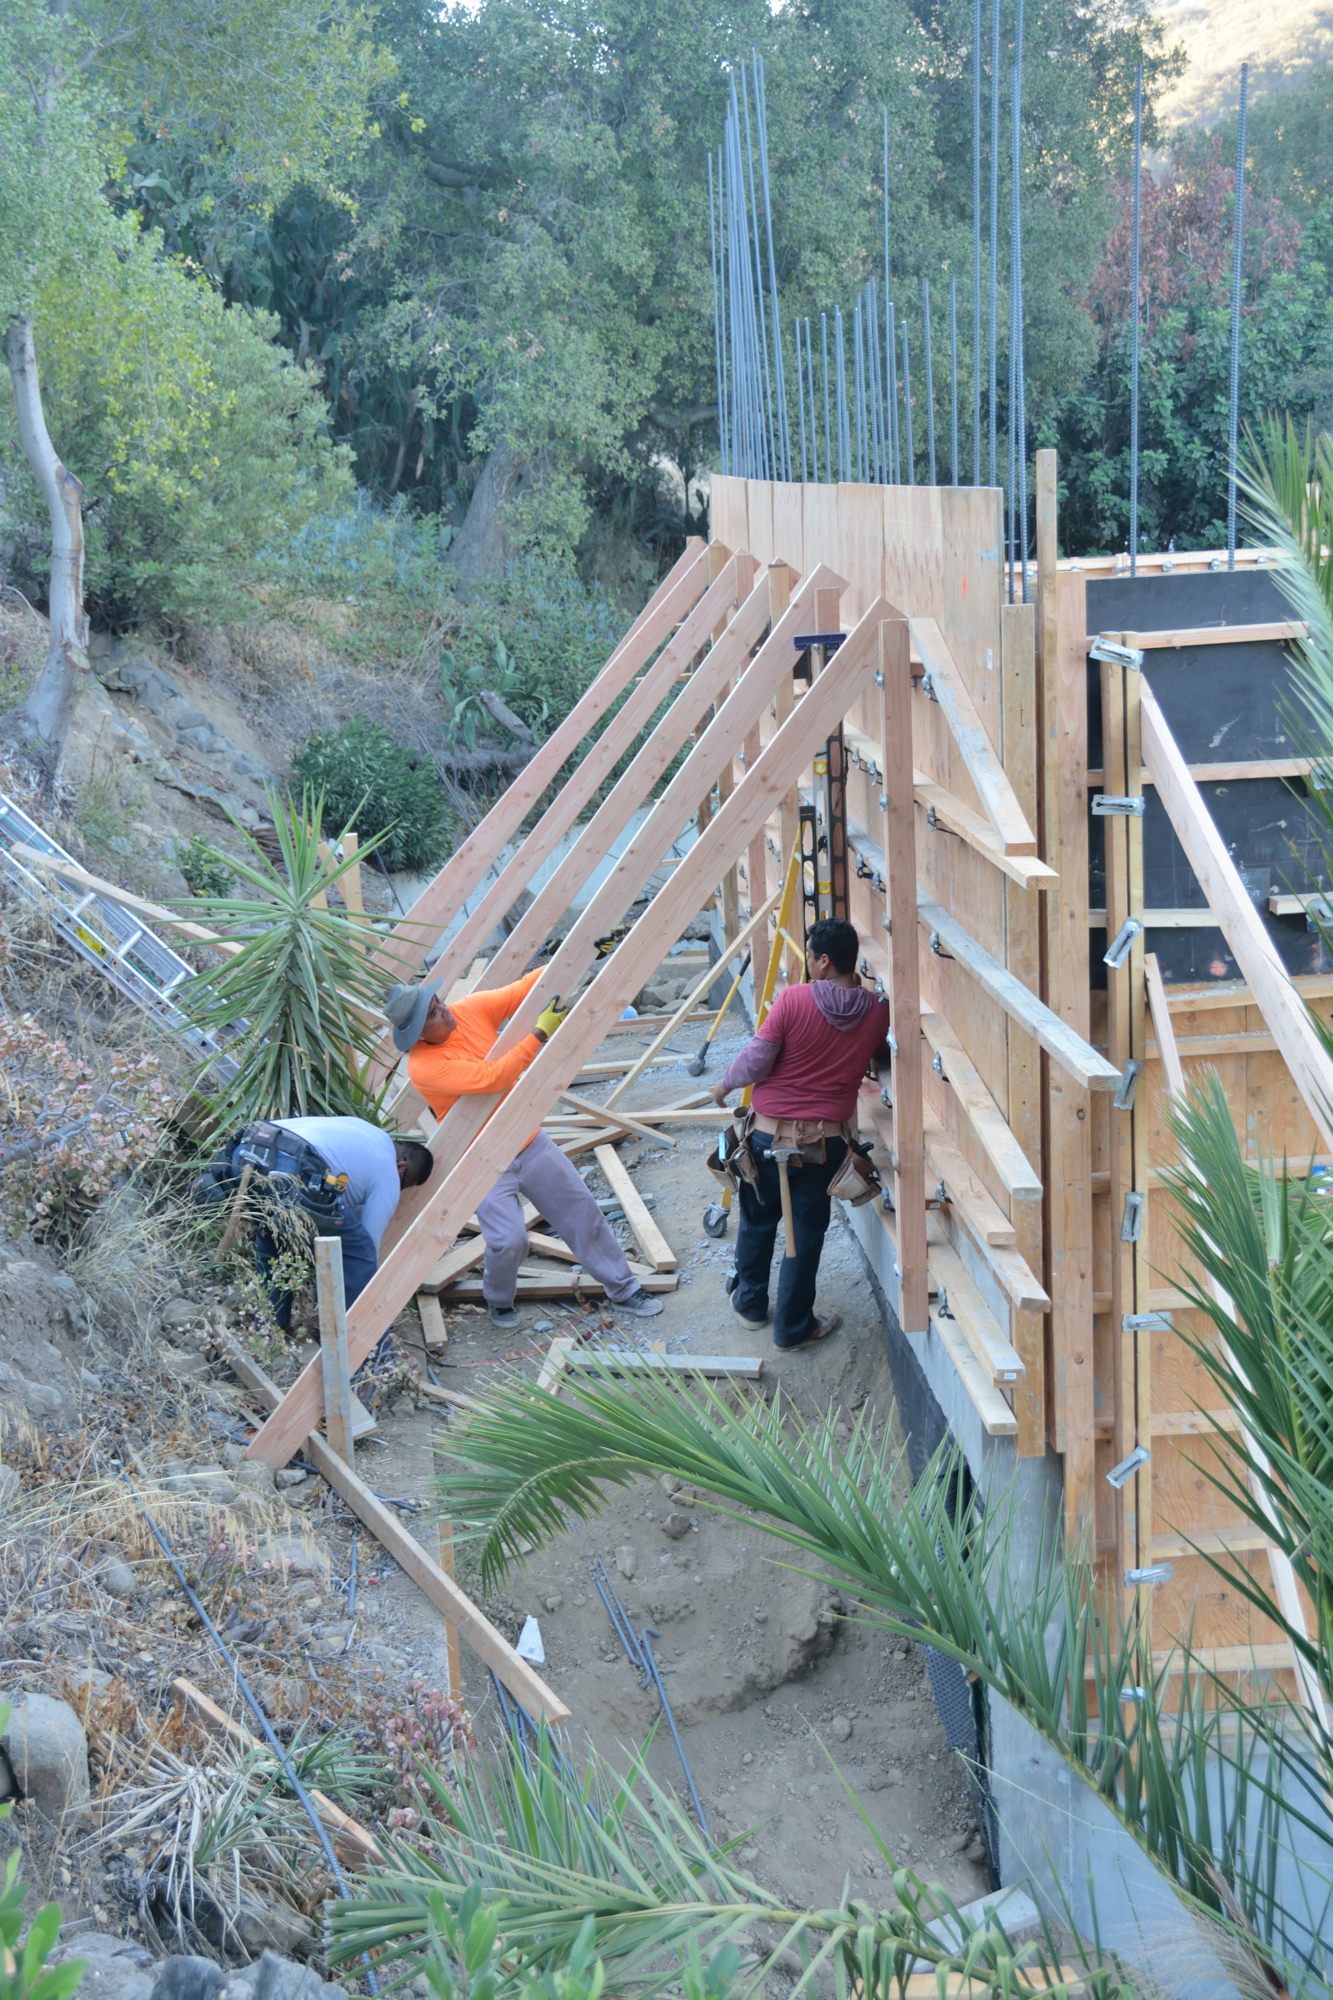
You might think that once the forms are up, they are ready to pour. The truth is, however, that there is still a lot to be done. Most importantly the walls need to be plumbed, adjusted so that they are truly vertical. You can see some bracing in the previous pictures; however in Picture 6 they have gotten serious about it. (So much lumber just to hold the concrete in place!) In addition, they have to go round and try to find all of the joints between pieces of concrete and other places that may not be attached firmly. When they miss one of these, during the pour, concrete will force its way out — there is a lot of pressure created by a 10 foot high stack of concrete — and the pouring process will have to be halted while workers rush around to close the gap and support it.
As part of this pour, they also need to connect the stem wall for the part of the house over the crawl space, to the foundation of the part of the house that will be on a slab. Picture 7 shows the gap. This was created because they poured the foundation around the slab at the same time that they poured the foundation around the crawl space and the vertical position of the two foundations differed by several feet. In Picture 8, they have epoxied rebar into holes drilled in the stem wall of the crawl space and attached it to the rebar of the foundation for the slab.


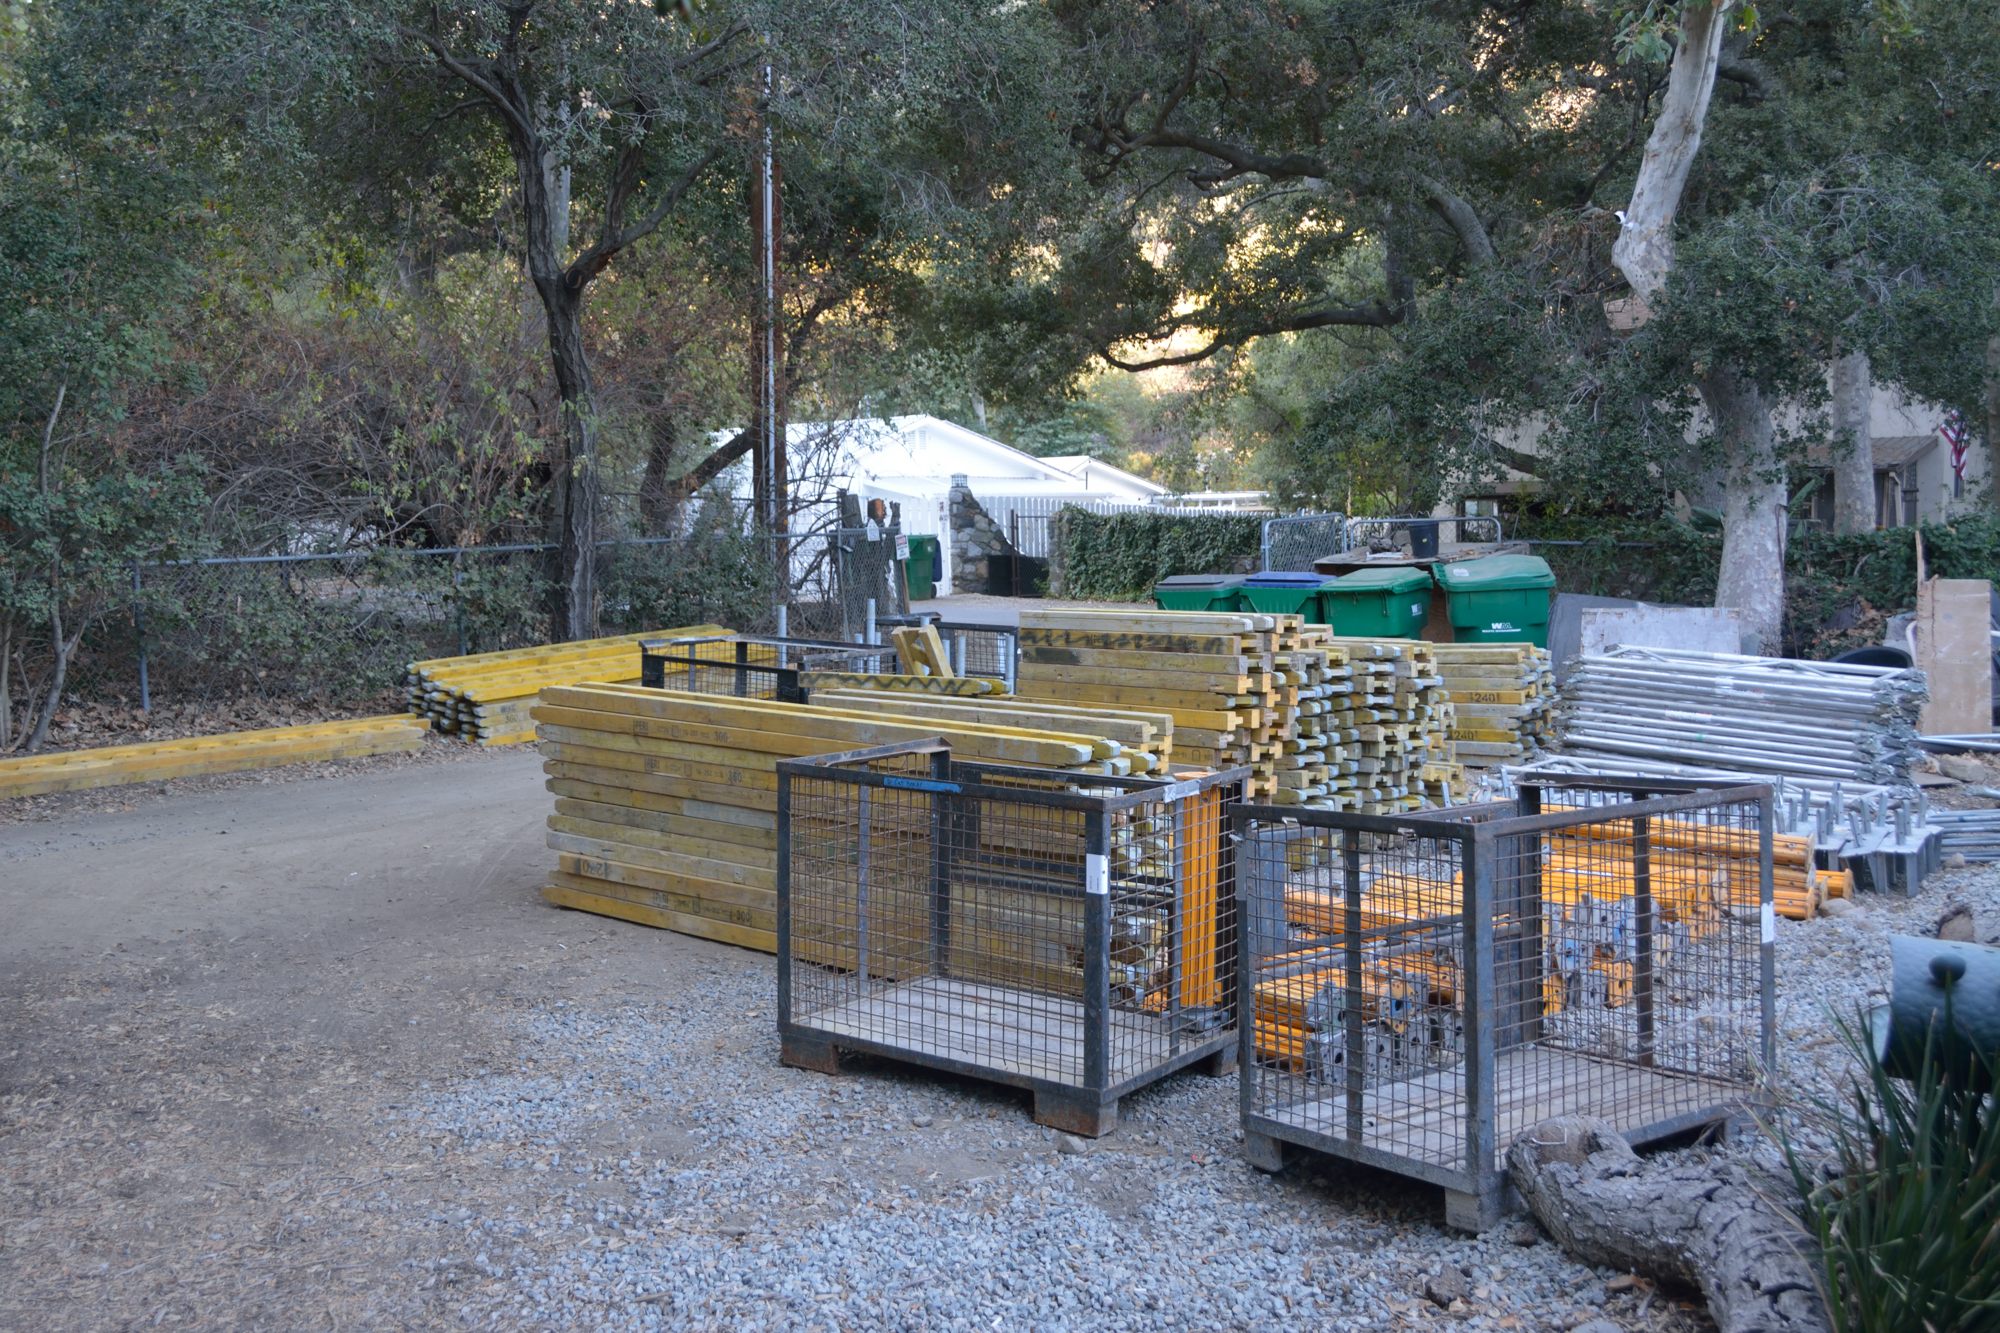
Completely unrelated to all of this work, they have been gathering all of the scaffolding used to build the deck to get it ready to send back to the company it was rented from. Picture 9 shows quite a collection. It was exciting when all of this scaffolding arrived and they put it up; it is even more exciting to see it ready to go!